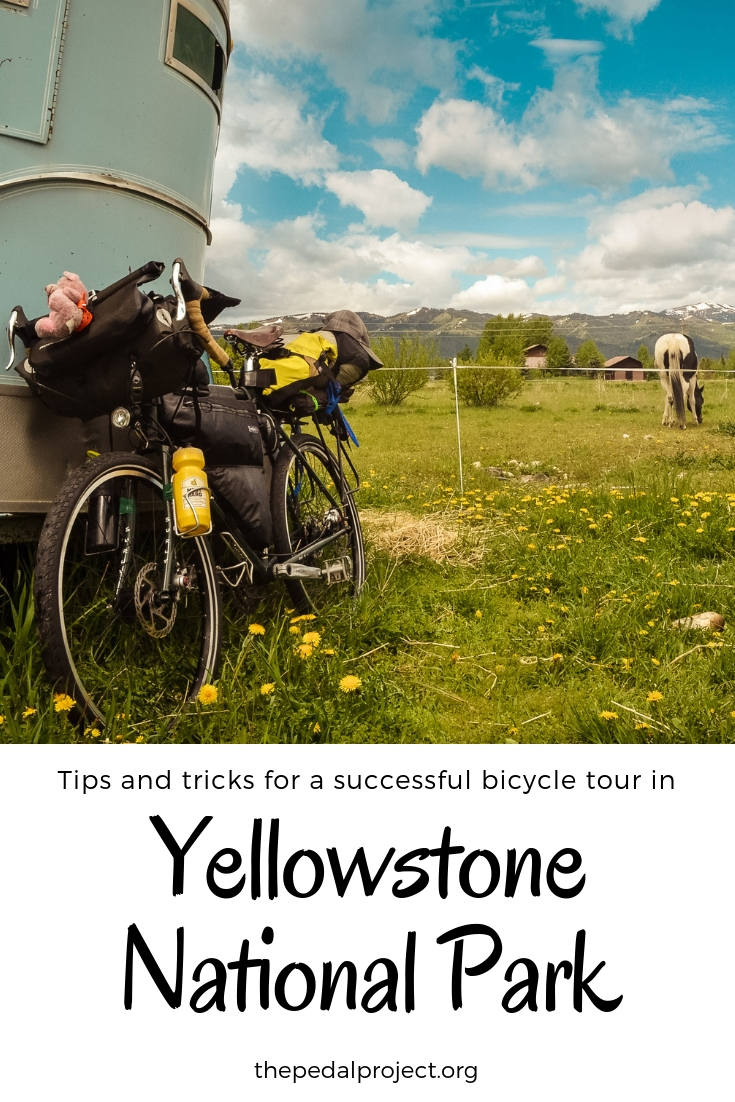
A Guide to Biking in Yellowstone: 11 Days of Mountains, Hot Springs and Wildlife
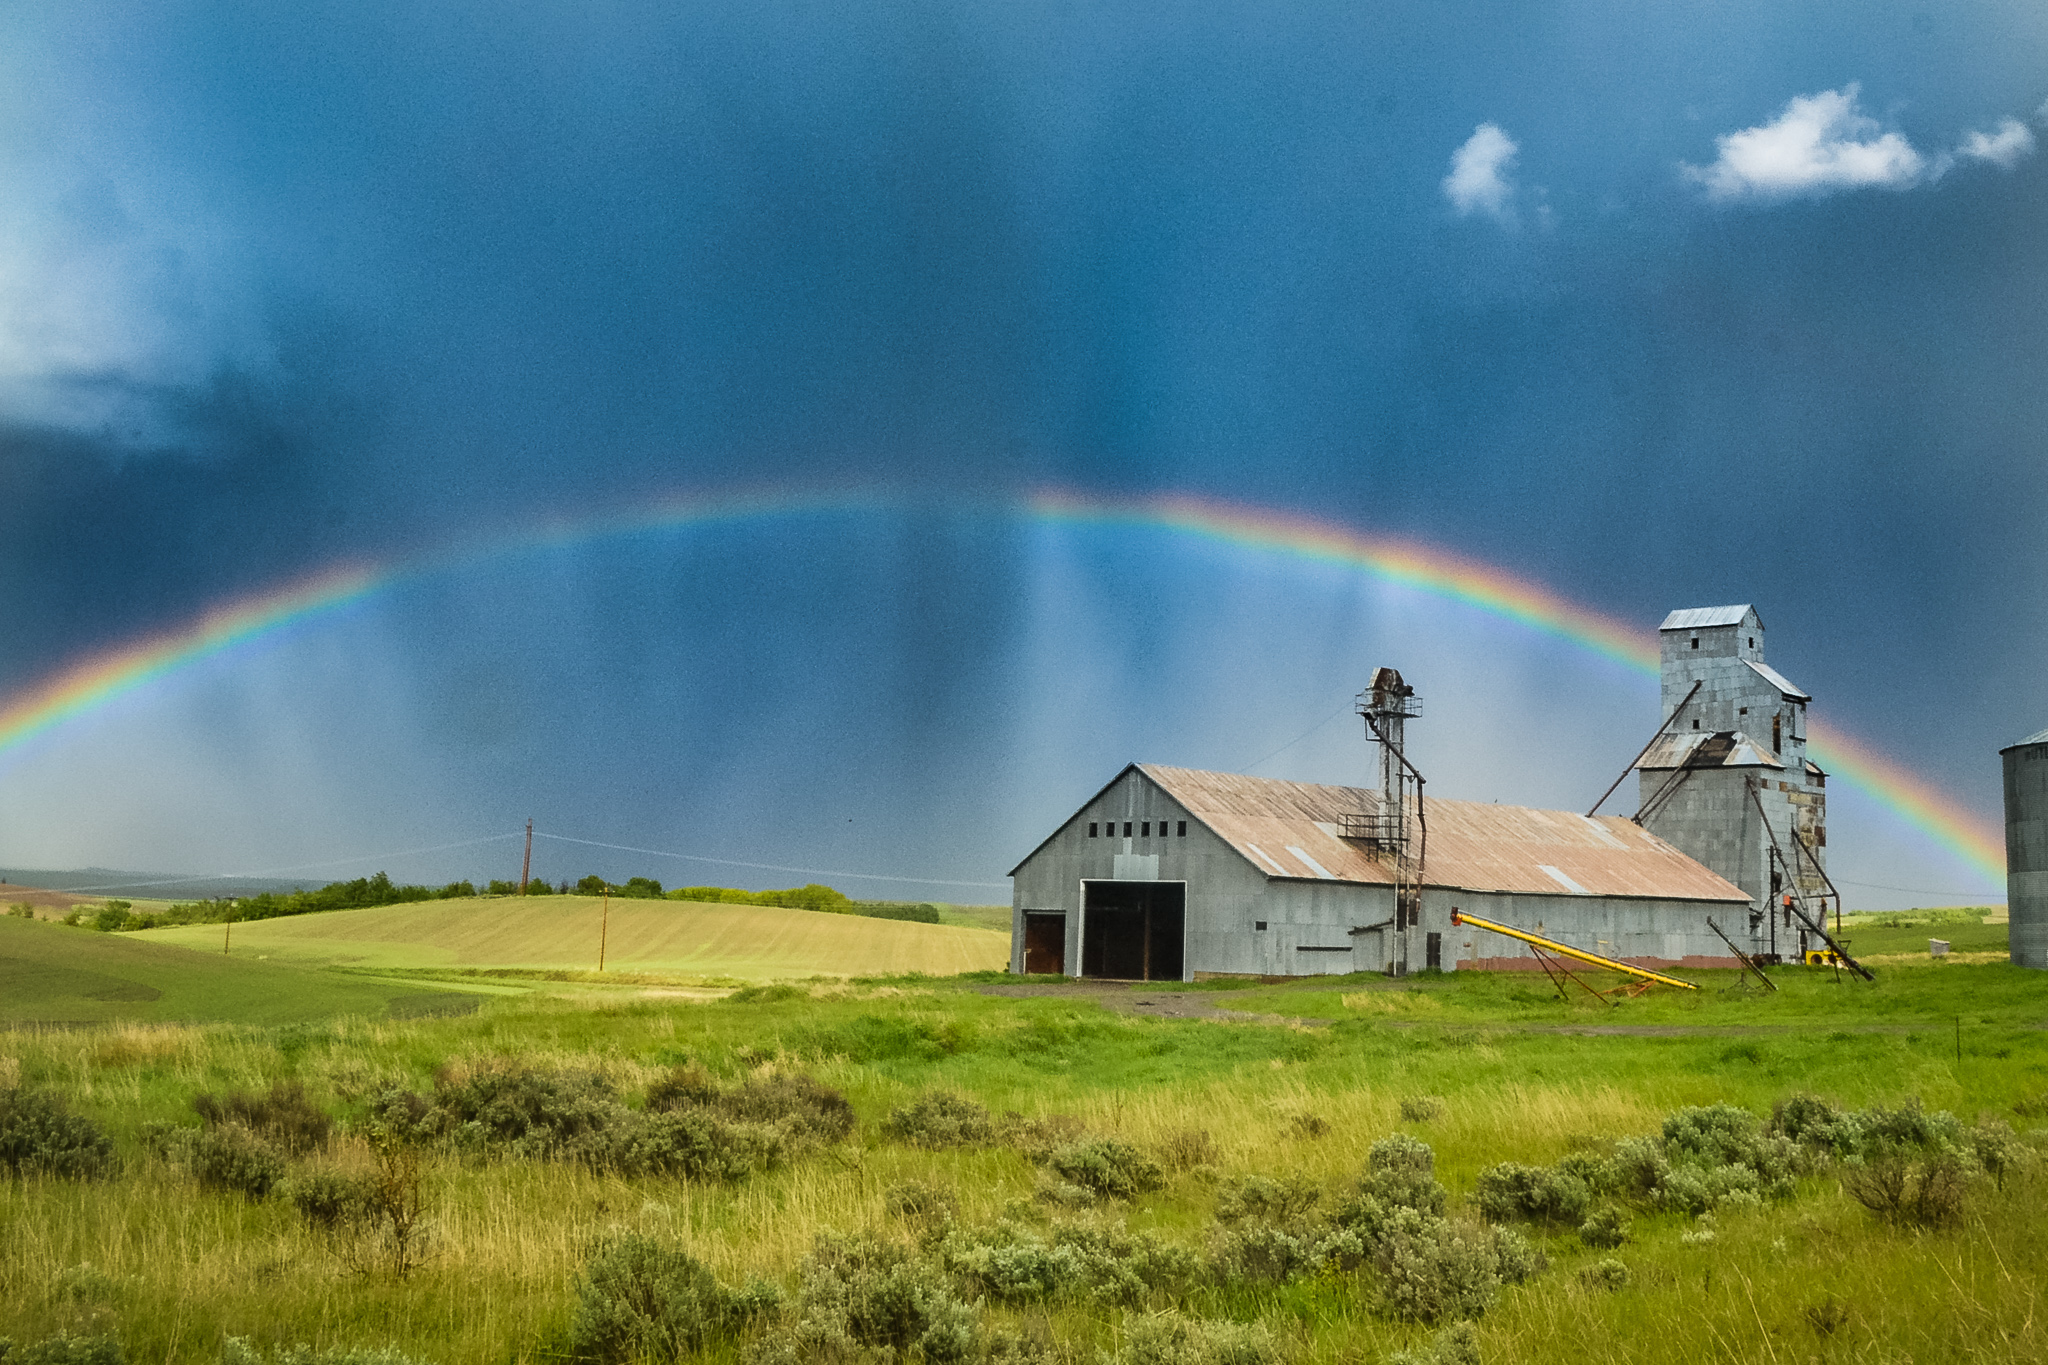
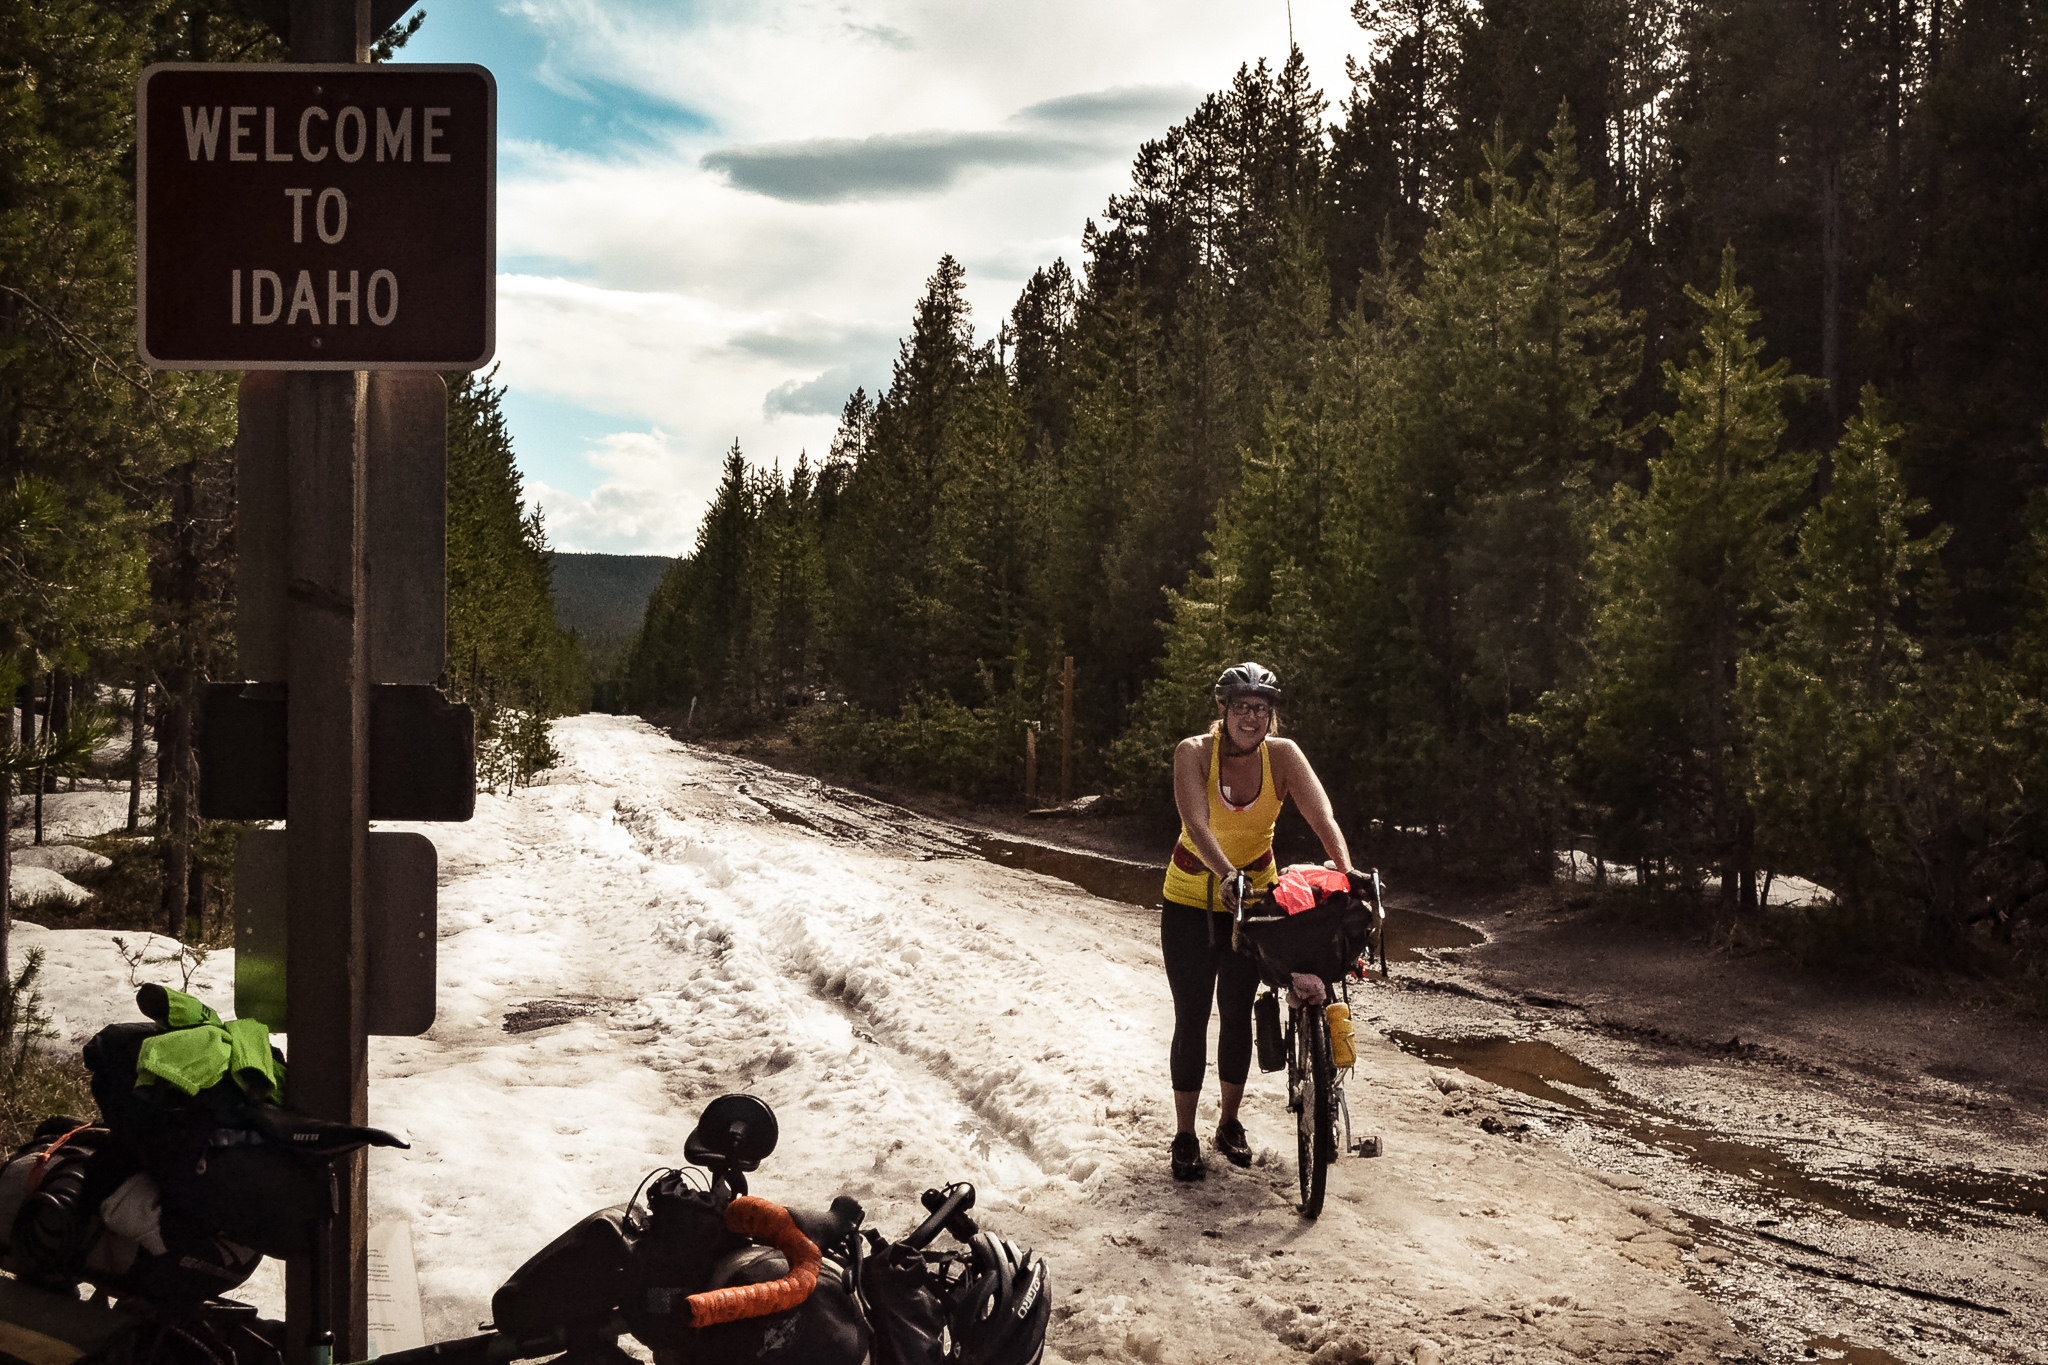
Before you set out biking in Yellowstone (try to) make sure the snow has melted
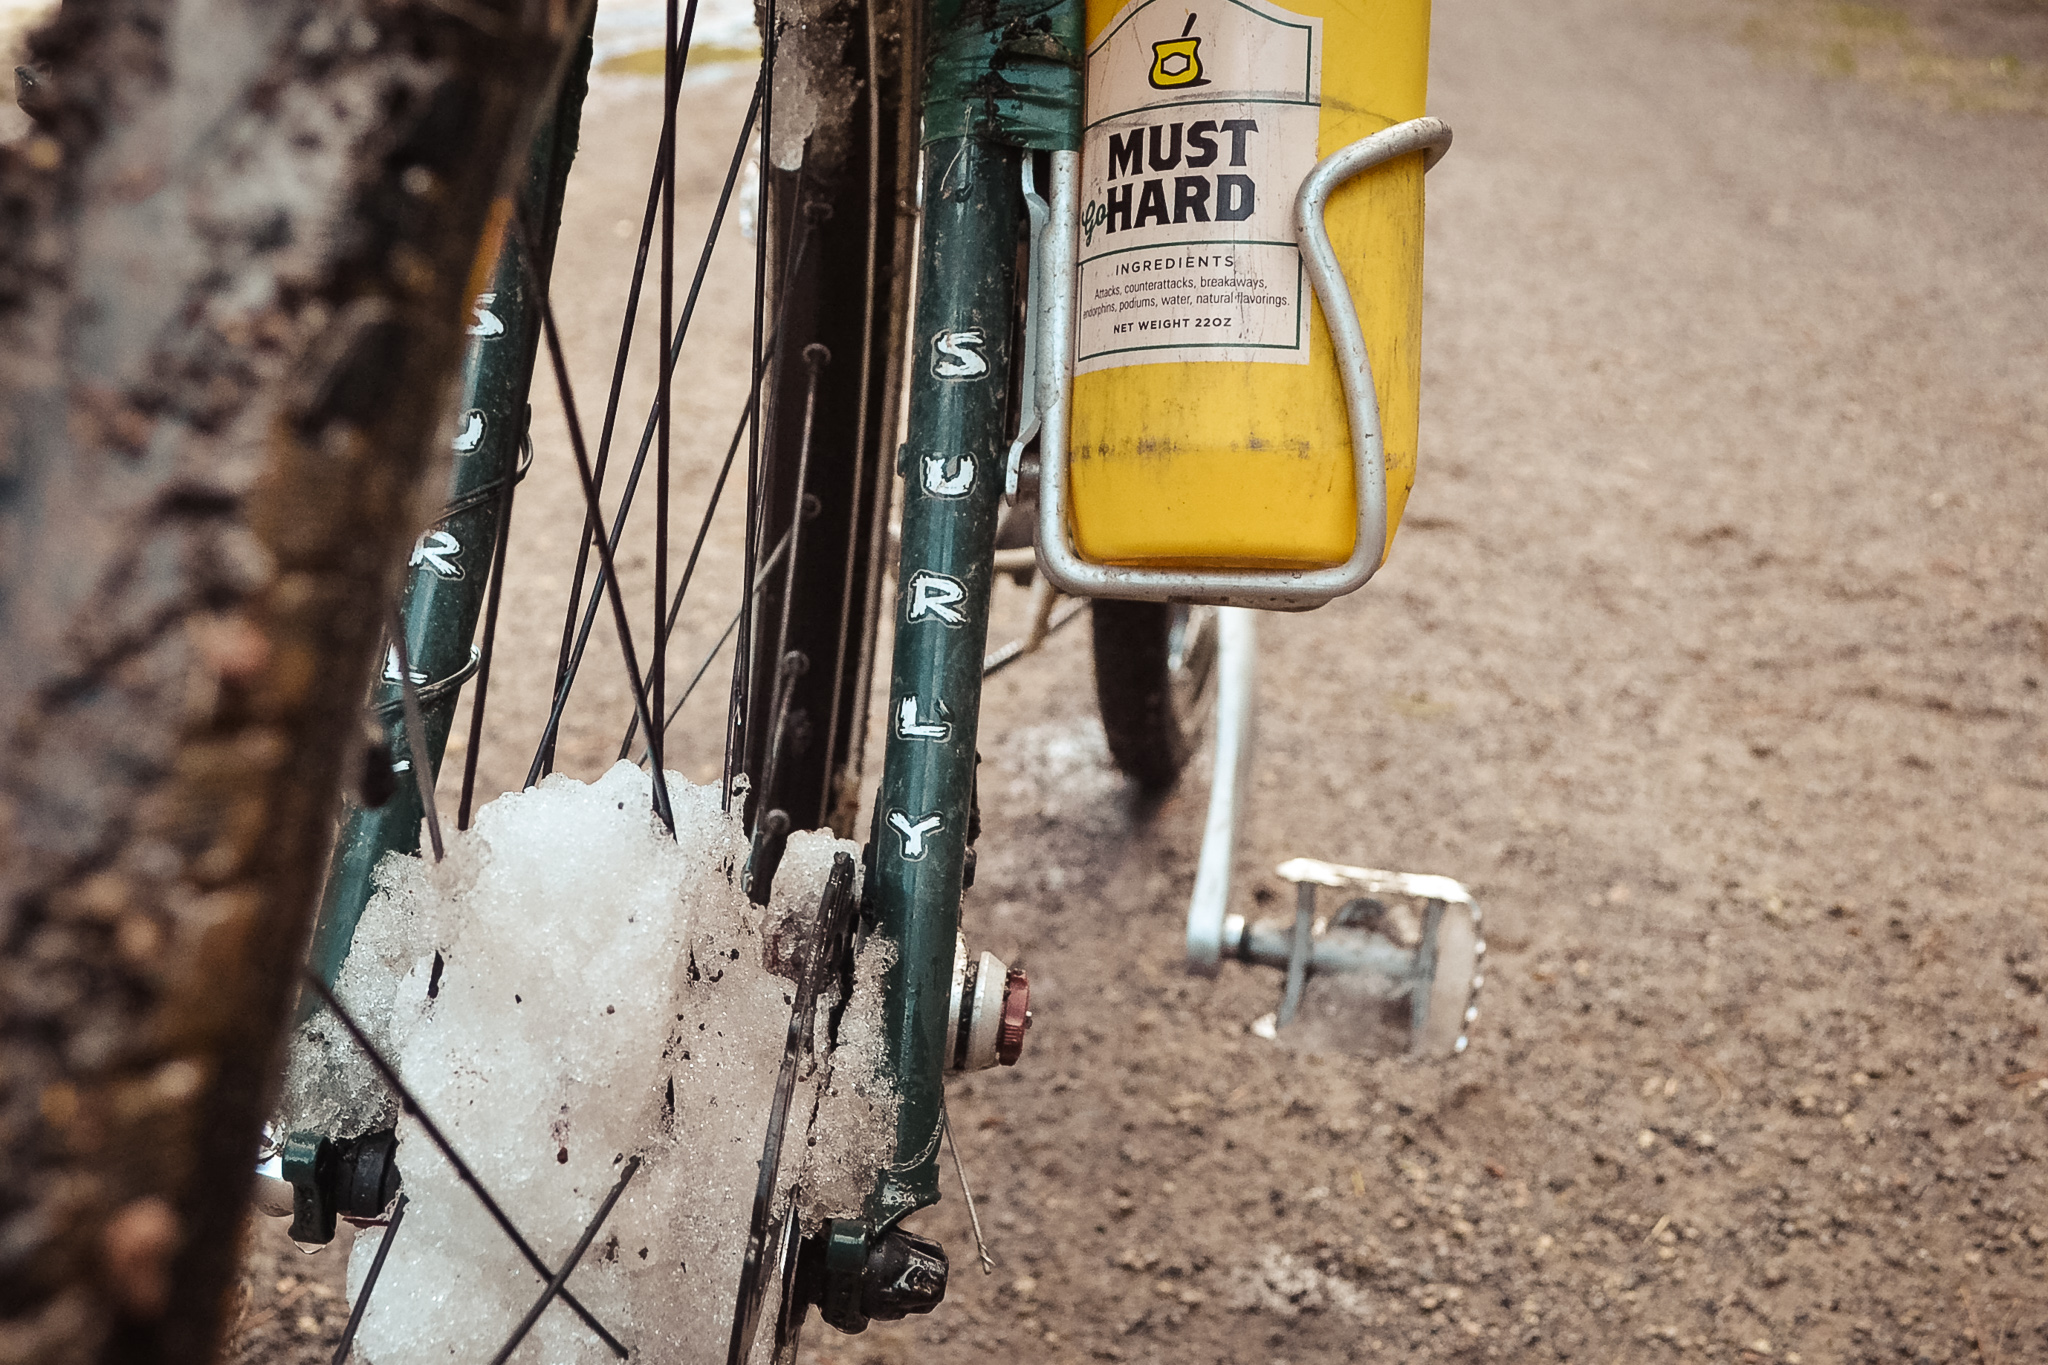
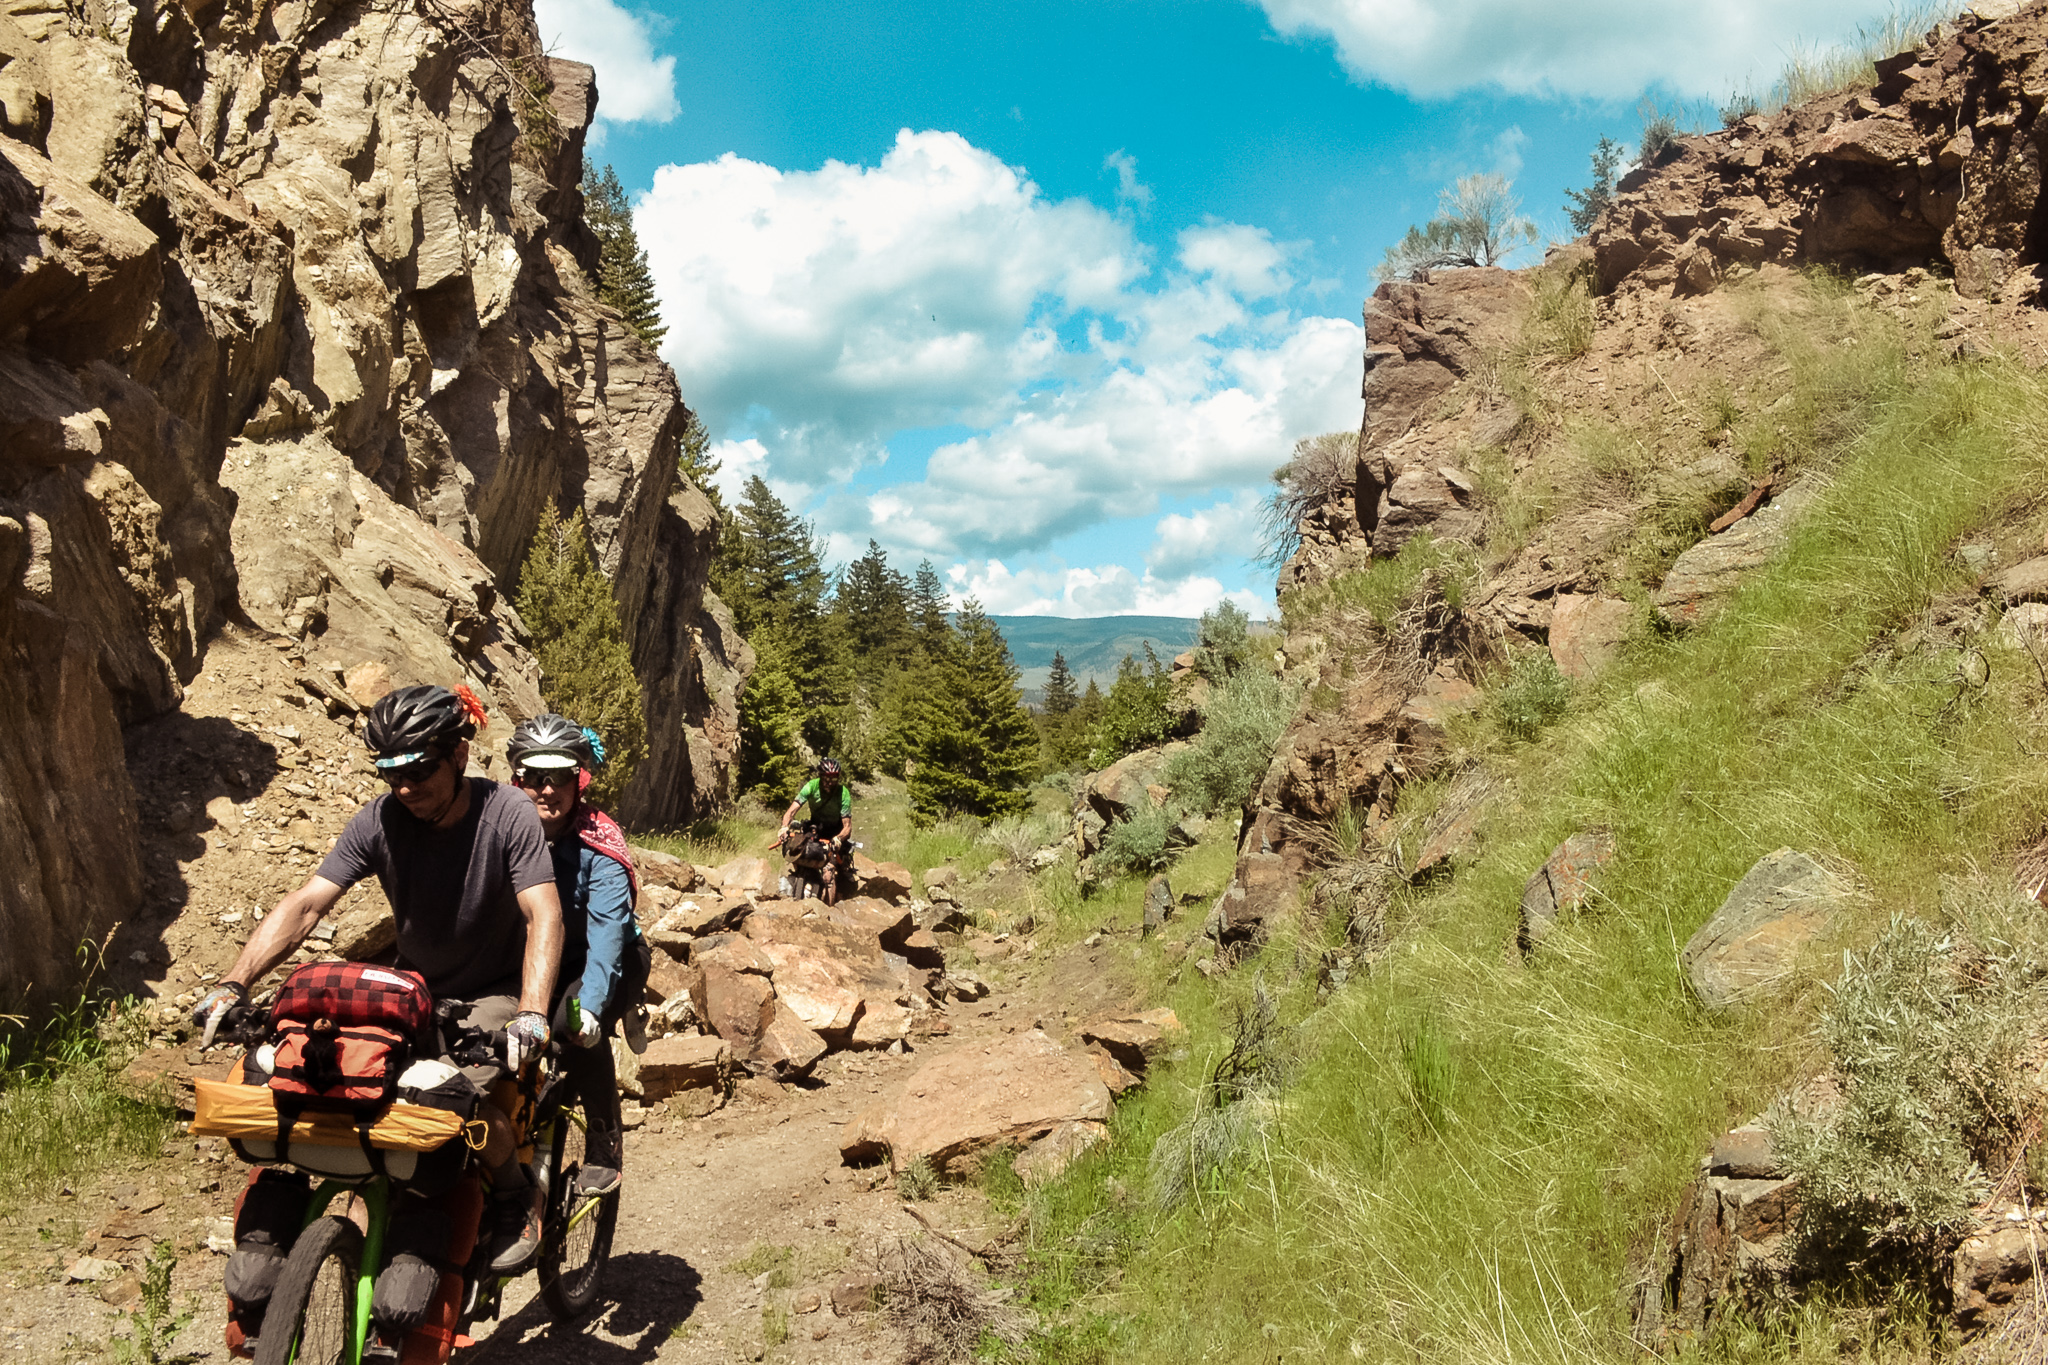
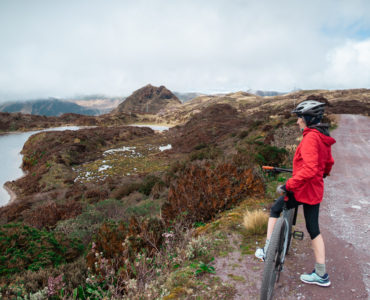
Know the terrain – and commit to whether you want gravel, pavement or a combo
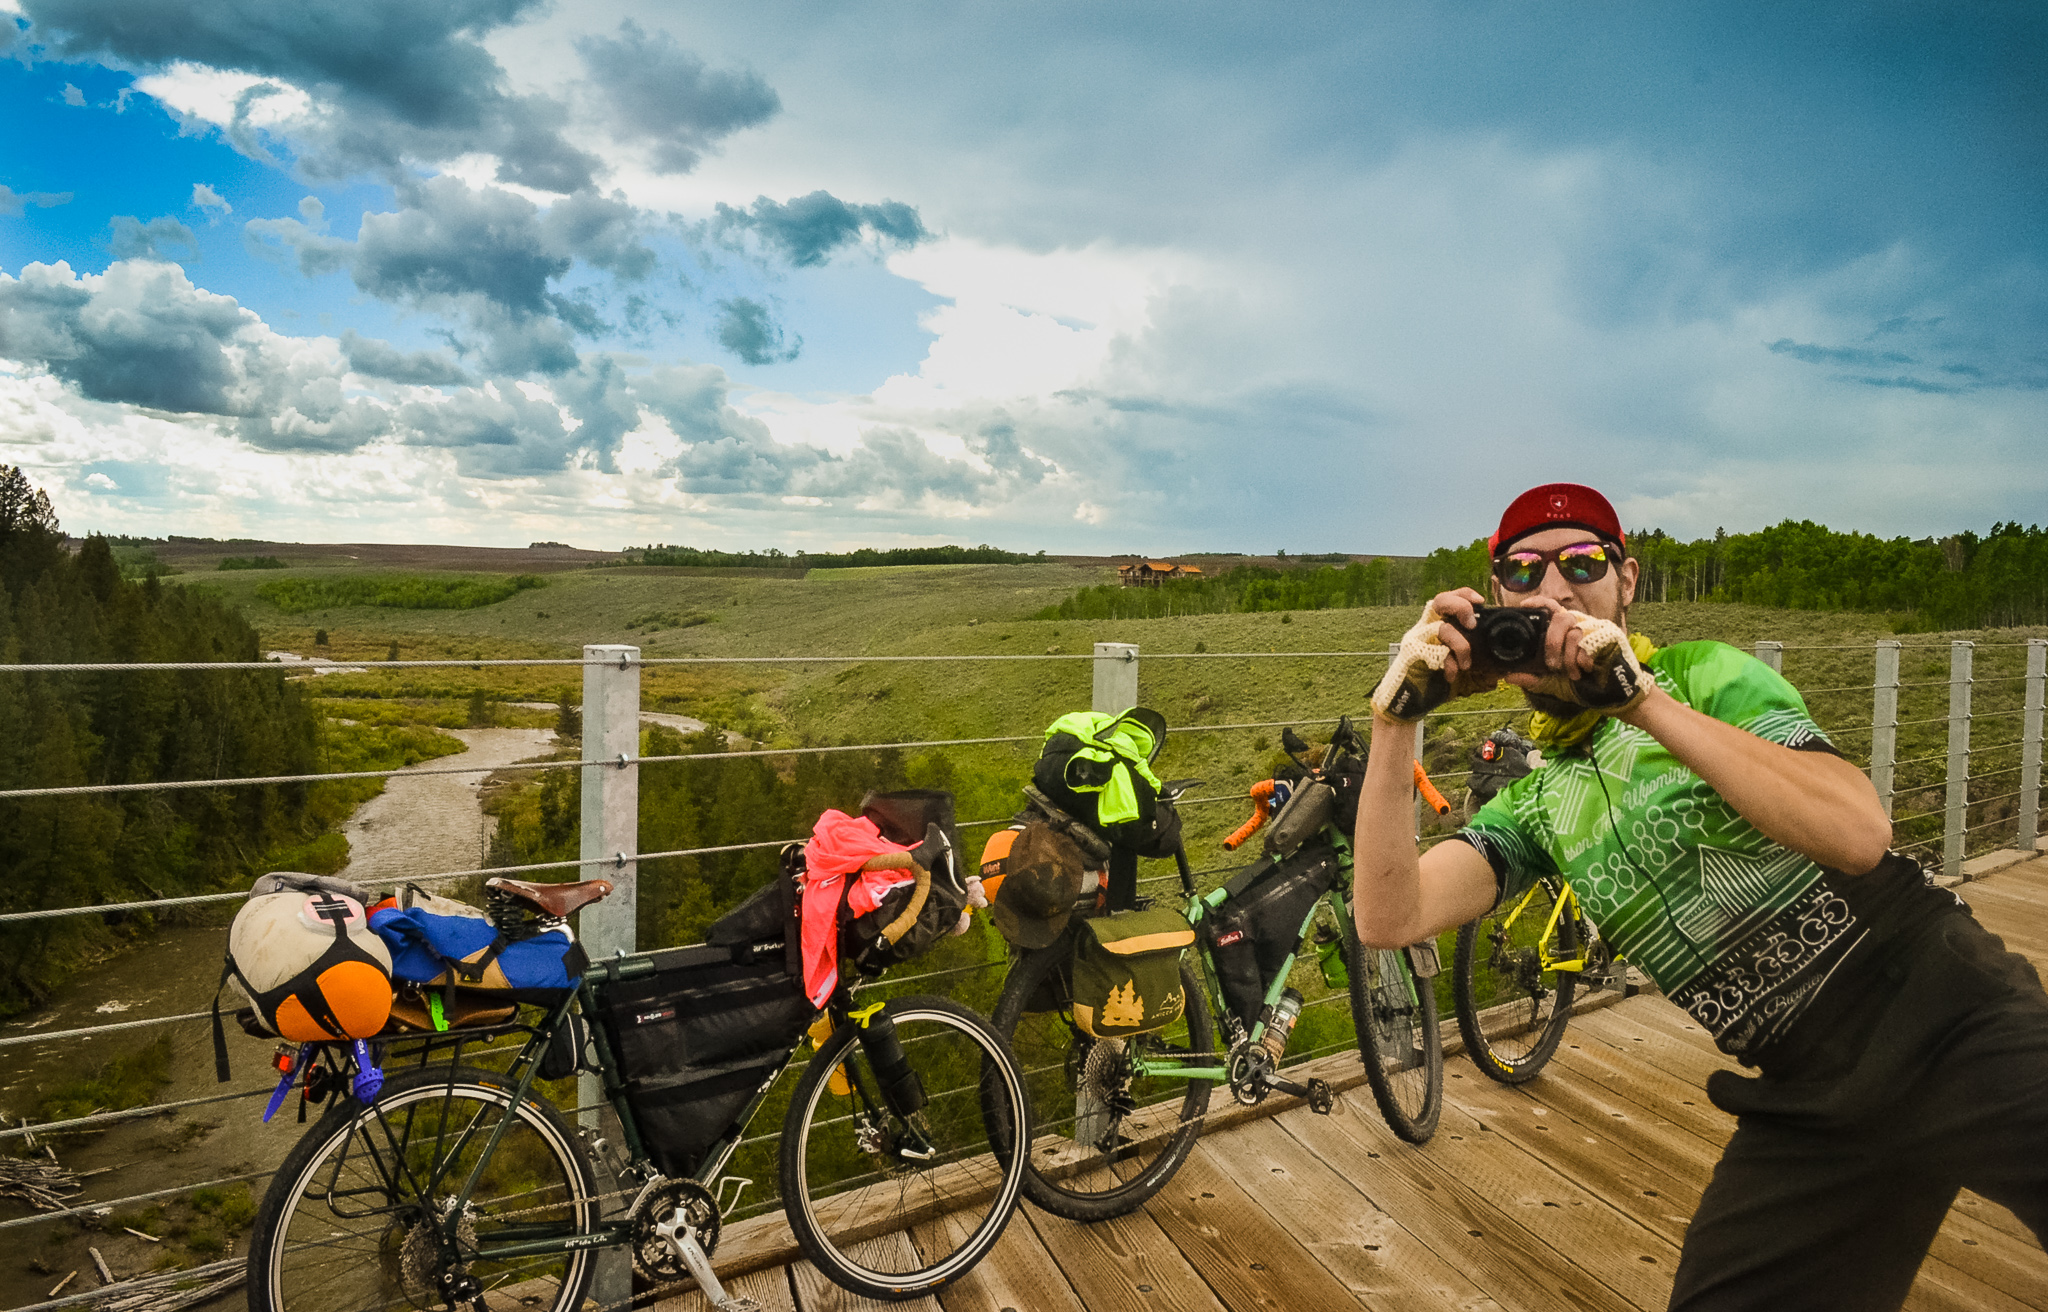
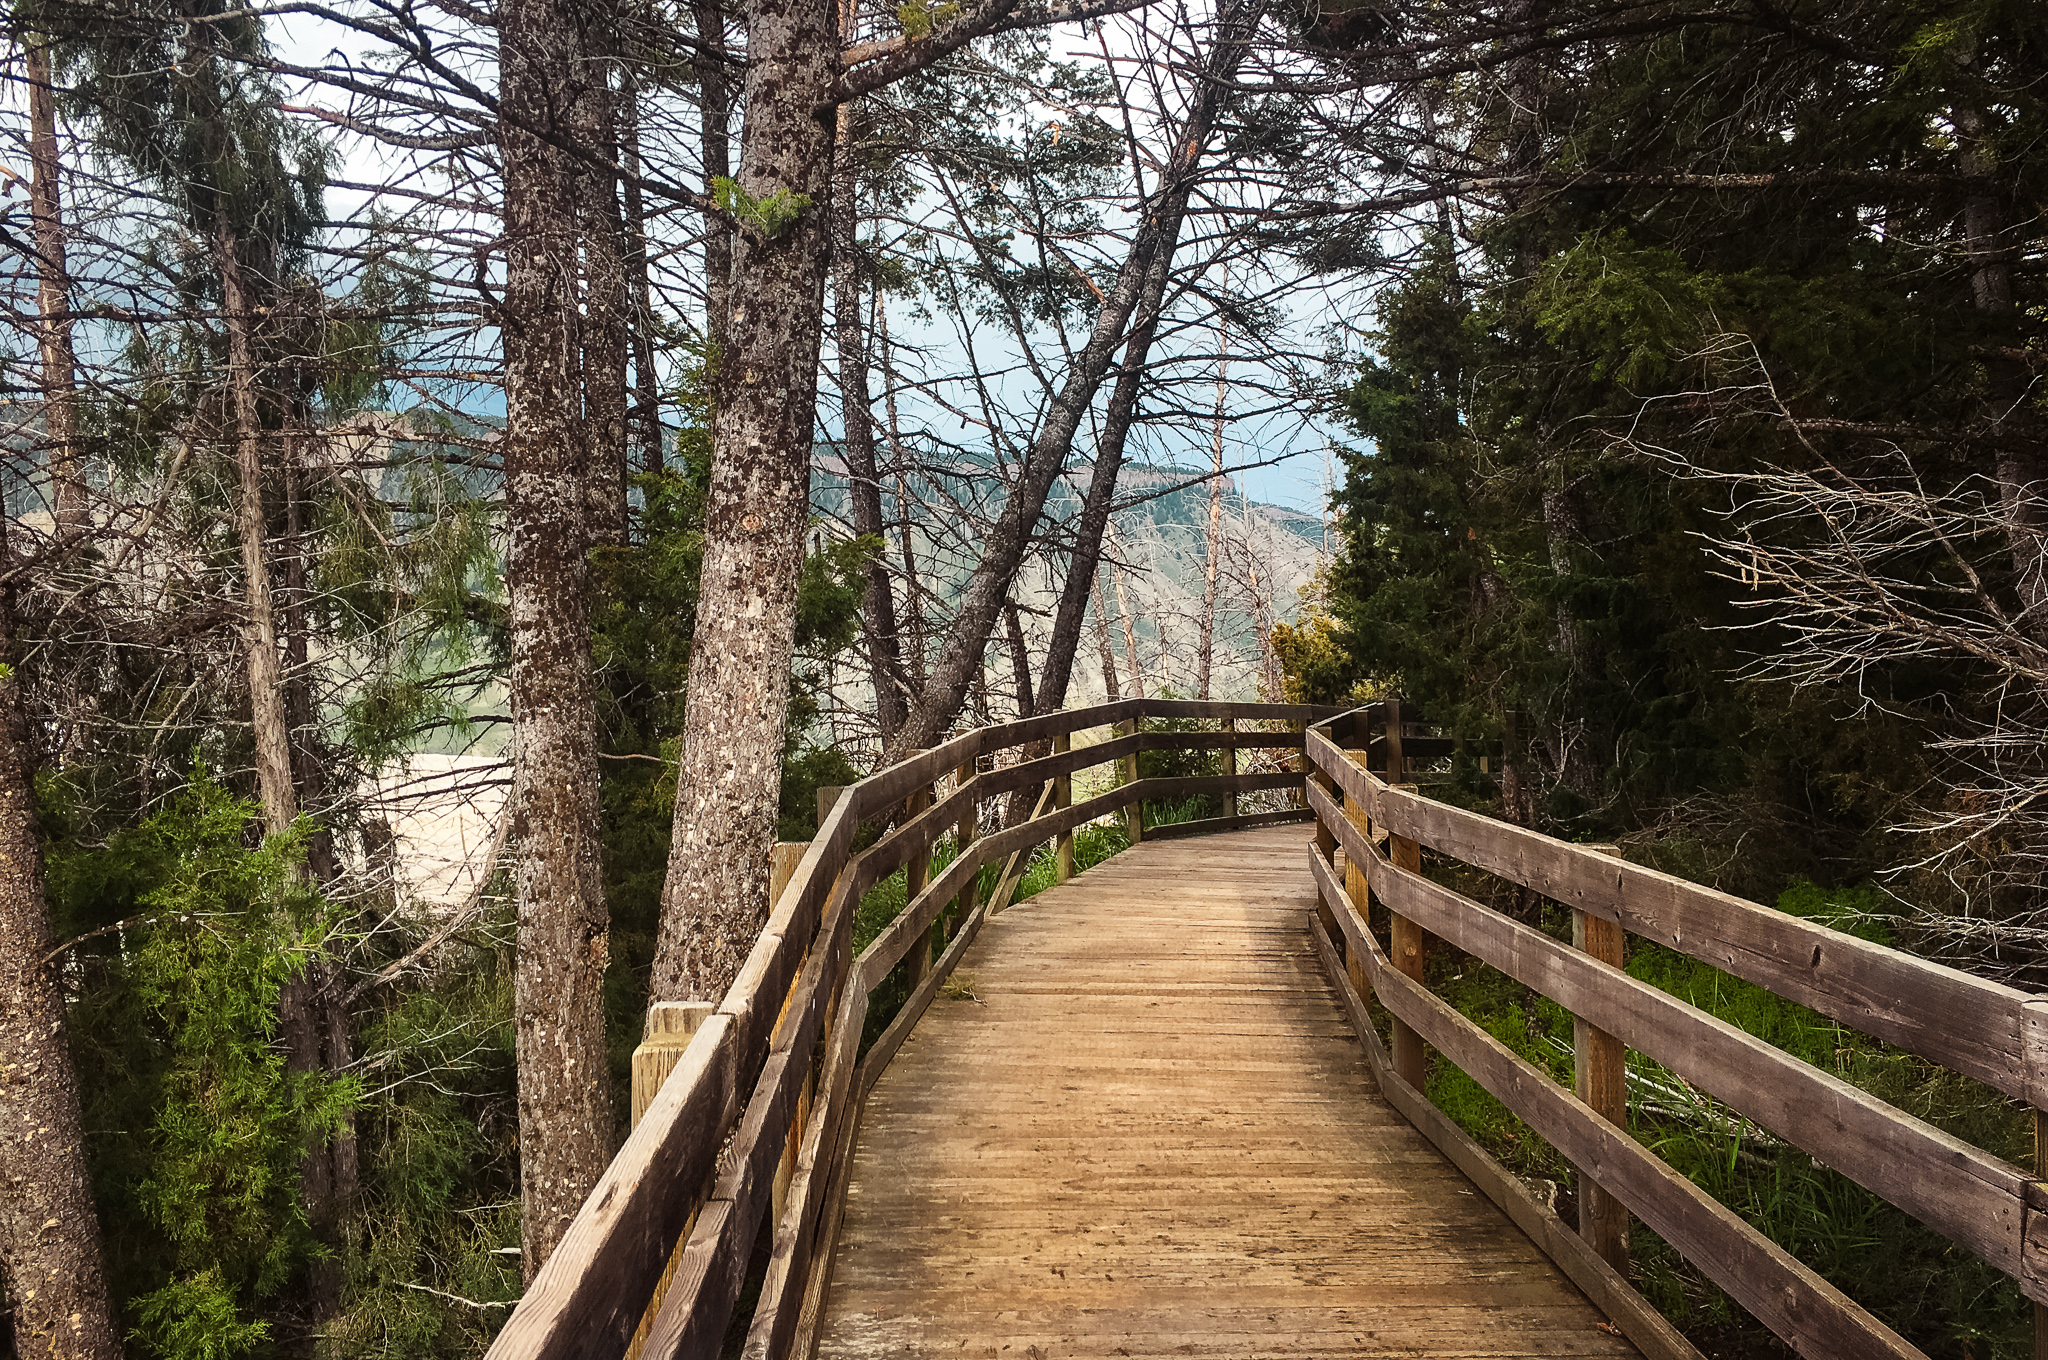
One of the things that you adventure travelers and cyclists will love about cycling in Yellowstone is that the terrain is a sliding scale of adventure.
What I mean is that you can decide to bring your road bike and stick to riding pavement, or you can go full-on adventure and get lost on gravel for a good bulk of the tour.
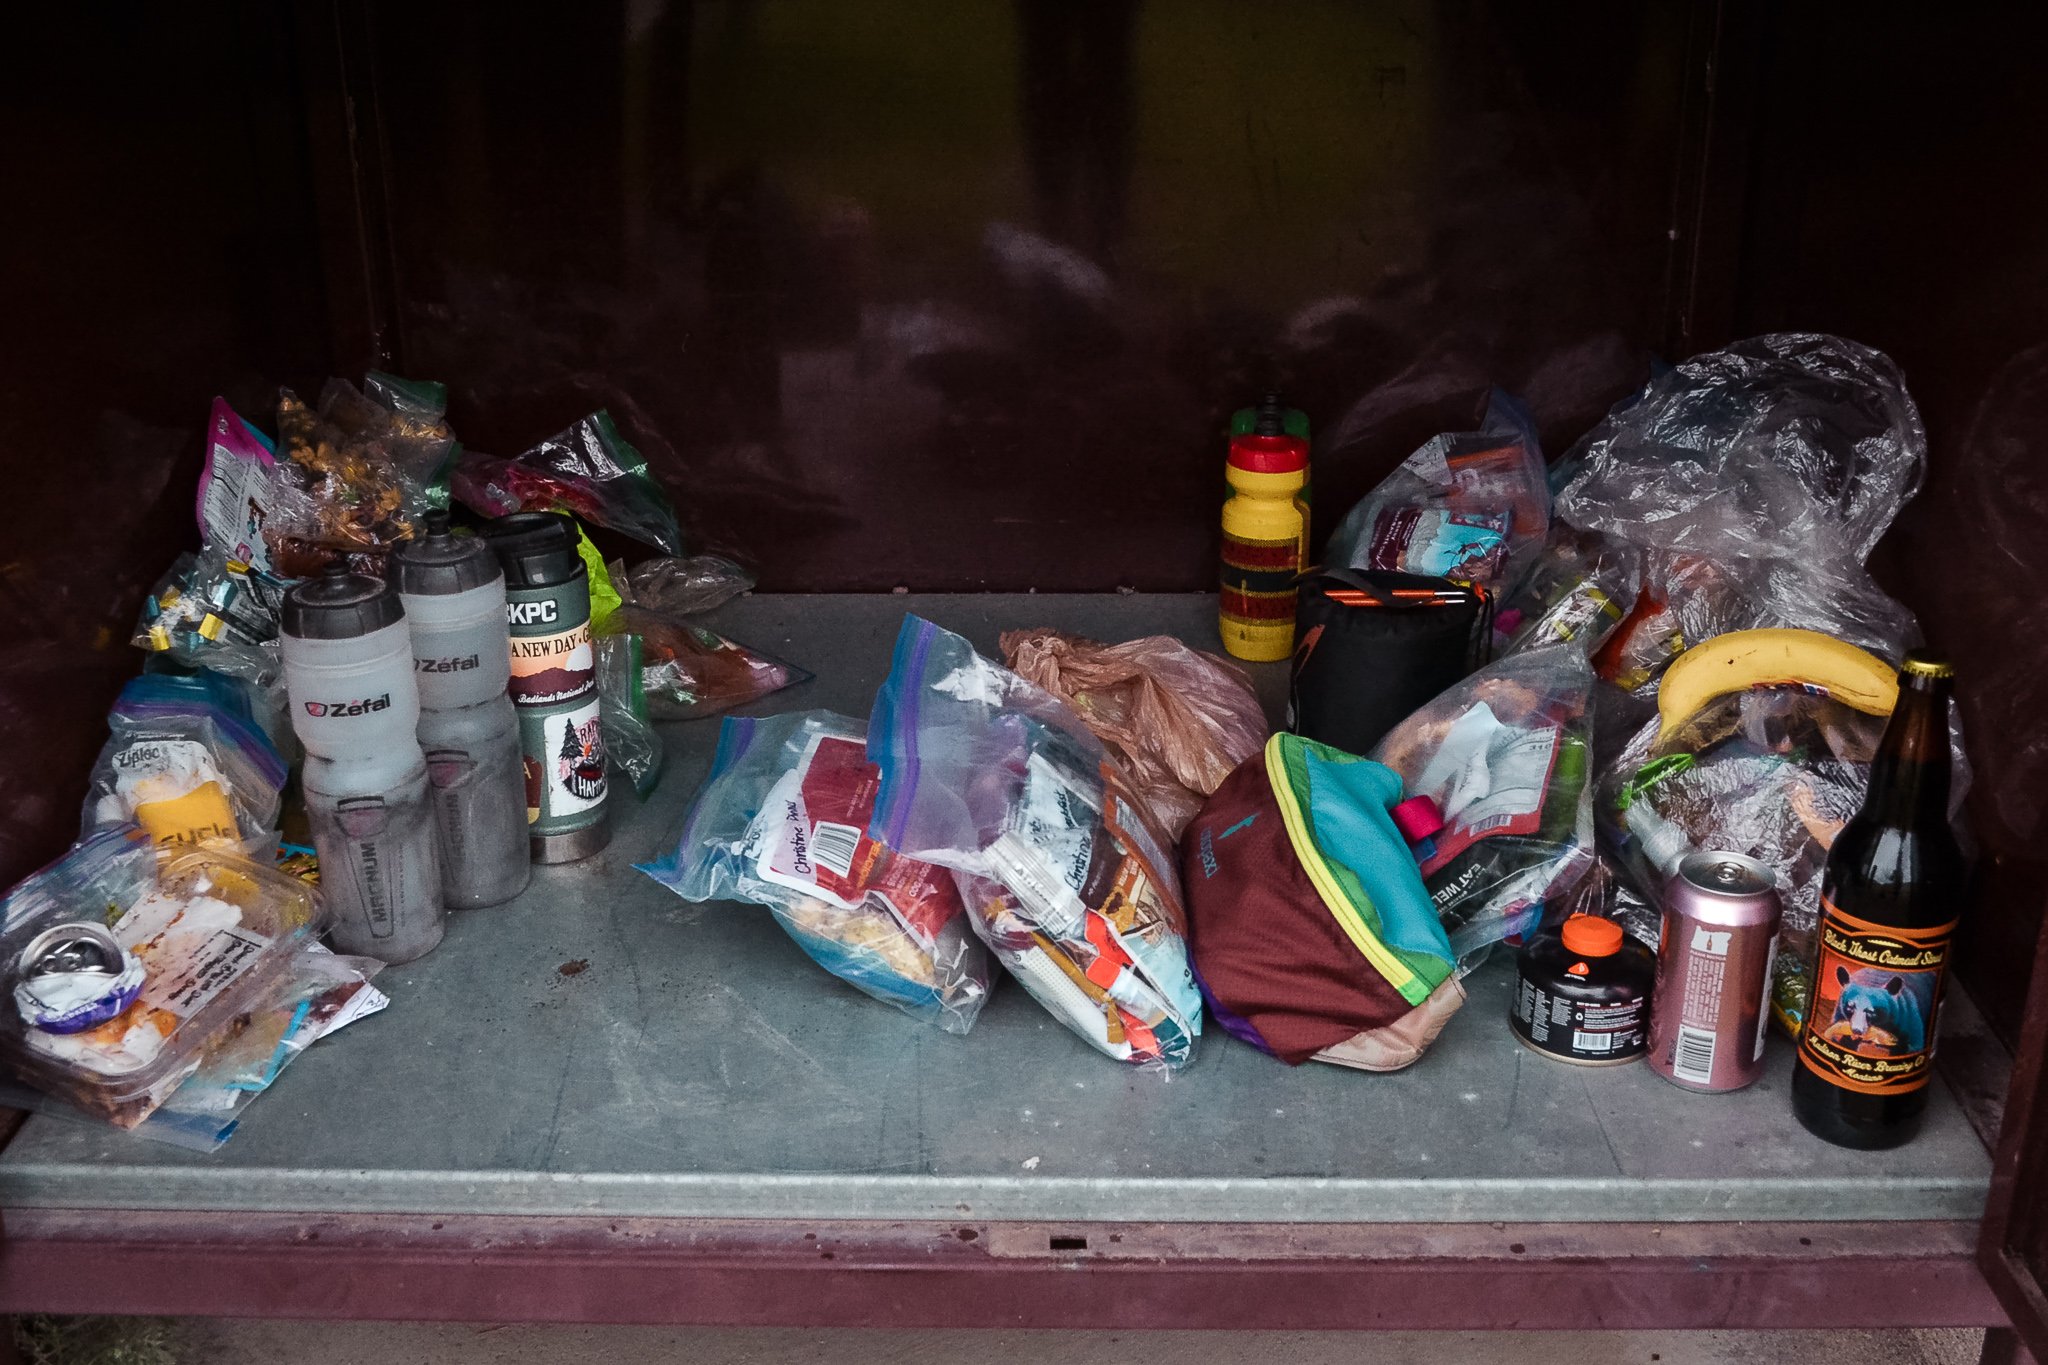
Plan to pack 3-4 days worth of meals at a time

- West Yellowstone
- Bozeman
West Yellowstone is the entry point to the National Park and was filled with tourists and high prices. If you are doing a budget bicycle tour of Yellowstone, be wary.
Meanwhile, Bozeman has several grocery stores and an REI. It was a little less than half-way on our 11-day loop around the area and is the last town you go through before hitting the North entrance of the park. By some sort of happy accident, we rolled through town during REI’s garage sale event. Needless to say, I may or may not have gone a tad overboard on re-stocking (spoiler alert: I definitely did), but I was a happy camper for the rest of the trip.
We also found a Warm Showers host there so that we could wash our clothes and get a good night’s rest before finishing our tour biking in Yellowstone.
Mark your water stops on your map or GPS
Call ahead 2-3 months for campsites and Warm Showers hosts
- In-park hotels/resorts
- RV sites/full-size campsites (12 in Yellowstone, 6 in Grand Teton National Park)
- Bike-in campsites (all campgrounds in the park, except Fishing Bridge RV Park and Slough Creek)
- Backcountry sites (backcountry pass/reservation required)
- Warm Showers hosts (only in surrounding areas)
- Hot springs with accommodations (surrounding areas)
Campsites need to accommodate the majority of visitors, bike-friendly backcountry sites are few and far between (there are exactly 2 in the park), and hot springs fill up fast.
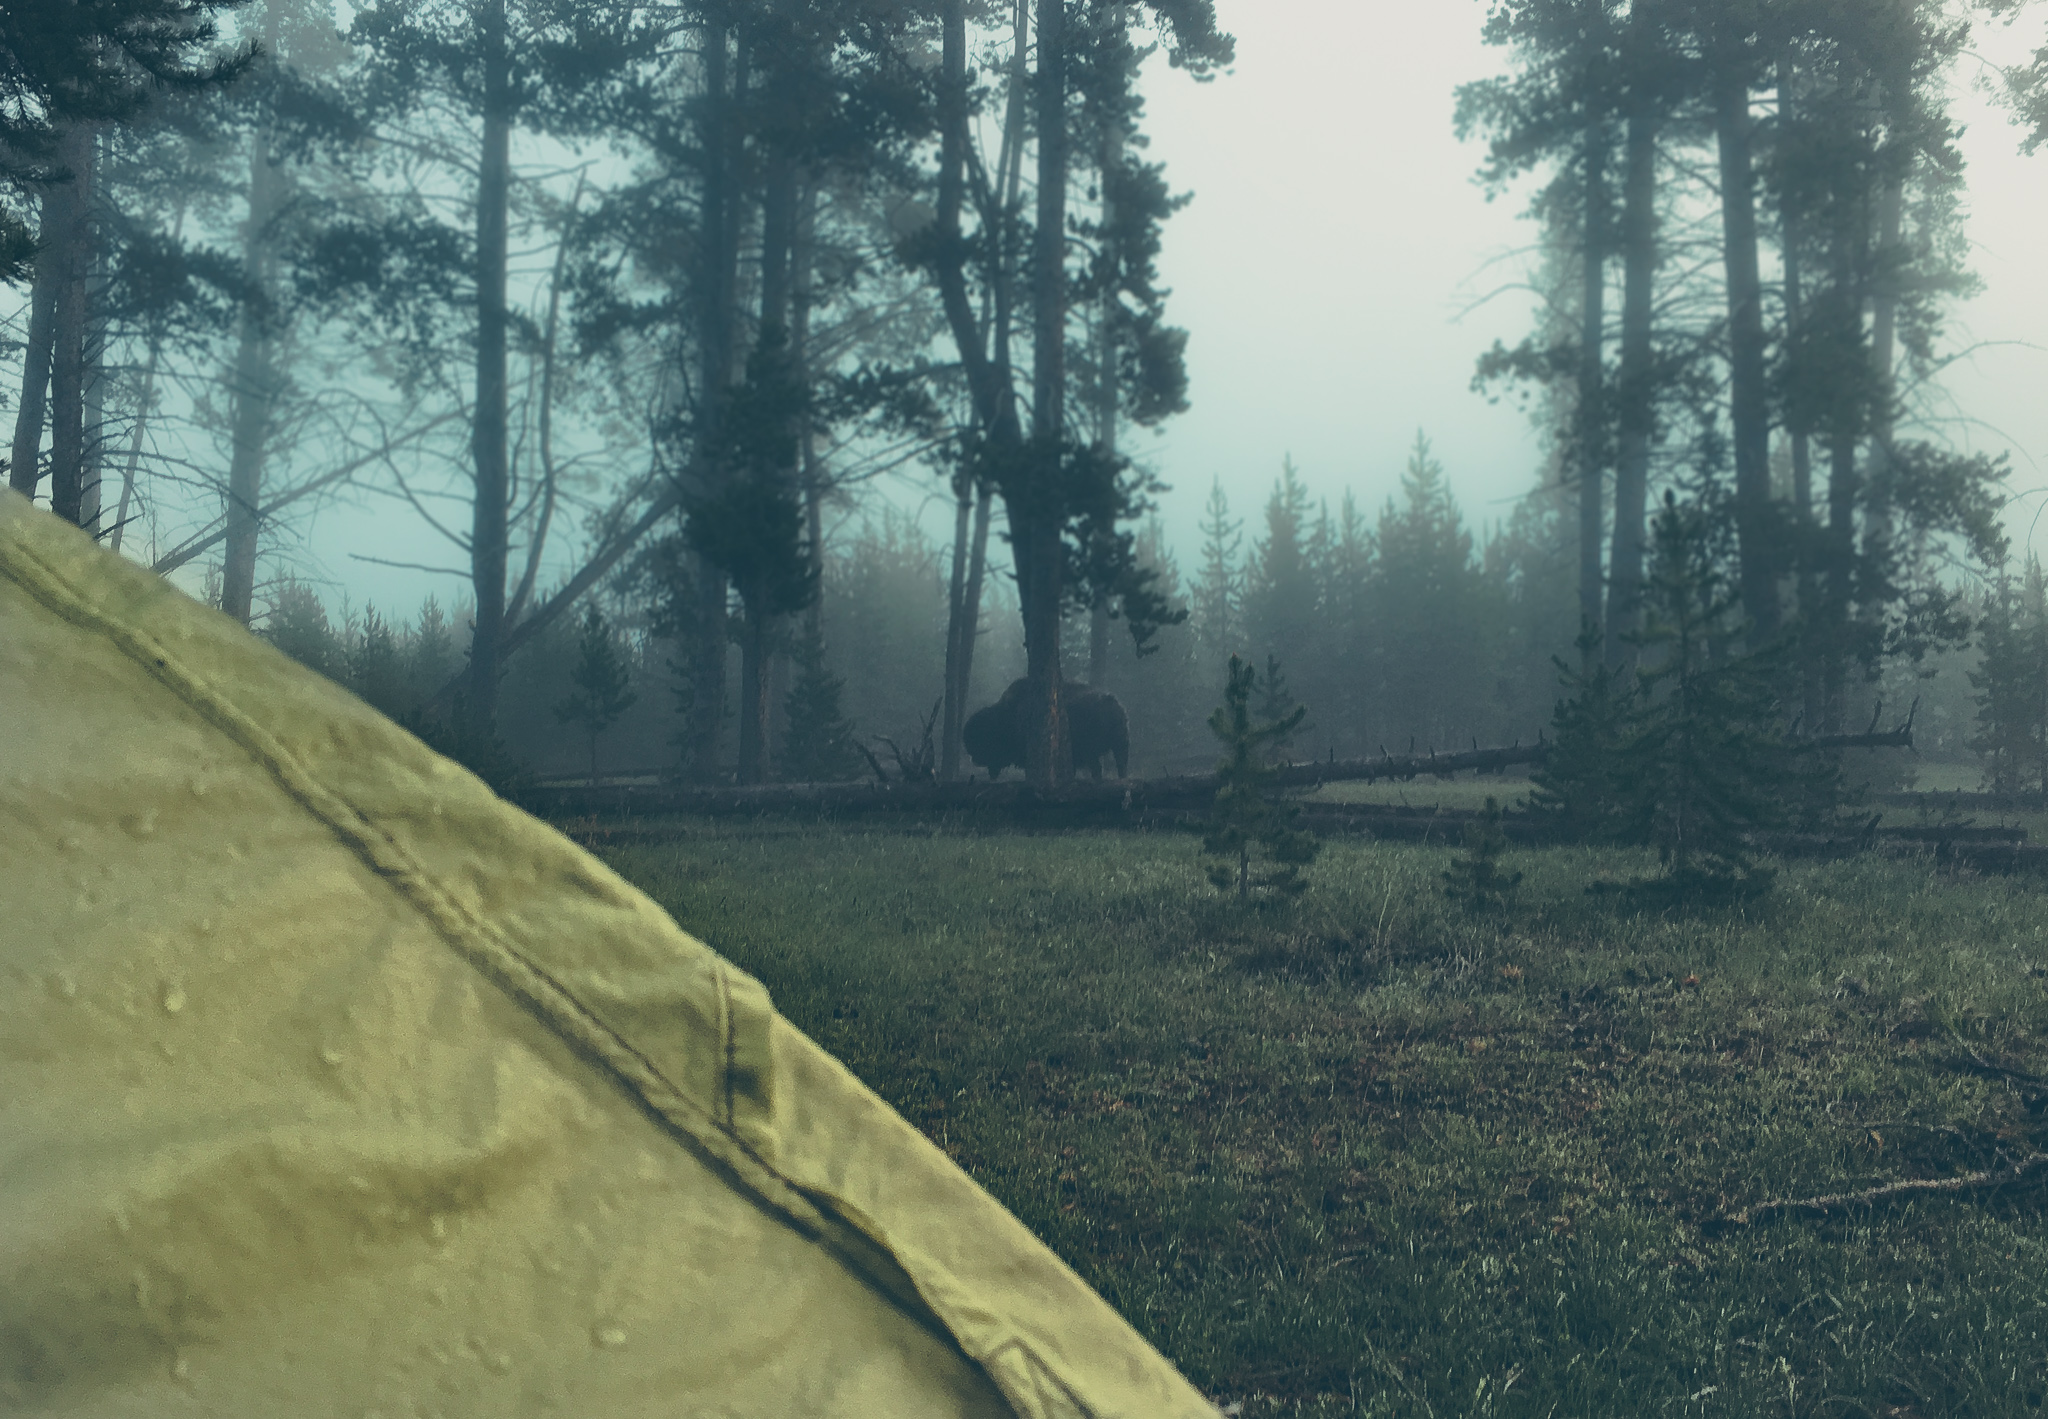
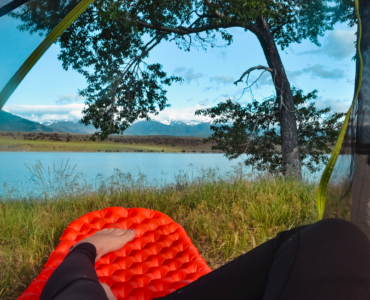
A note on backcountry camping: There are a ton of backcountry options in both National Parks. But not all of them are accessible by bike. We stayed at one just outside Old Faithful that had a bear box and a compost toilet.
Just make sure you call in advance and pick up your backcountry pass at one of the ranger stations.
While us adventure lovers relish the idea that any open parcel of land can become home for the evening, dispersed and/or stealth camping was only an option when we were in West Yellowstone. Overall, I’d advise against it. There is a lot of unmarked private property in the area and it is bear country, after all.
As soon as you start mapping out the route you’ll be cycling in Yellowstone and the Tetons, start calling and reserving your spot.
Be aware that seasonal closures do occur and factor in here (see point #1).
And don’t forget to price compare when booking campsites! For example, we reserved a hike-or-bike site at Canyon Village, assuming that would be the cheapest option. But when we got there, we realized it cost $8-10/person and that showers were an additional $5 (no towel included).
Campsites were about $35 and included 2 showers.
Since there were 4 of us, we saved $20 by “upgrading” to the bigger site. And friendly stranger gave us their leftover shower passes that they didn’t use.
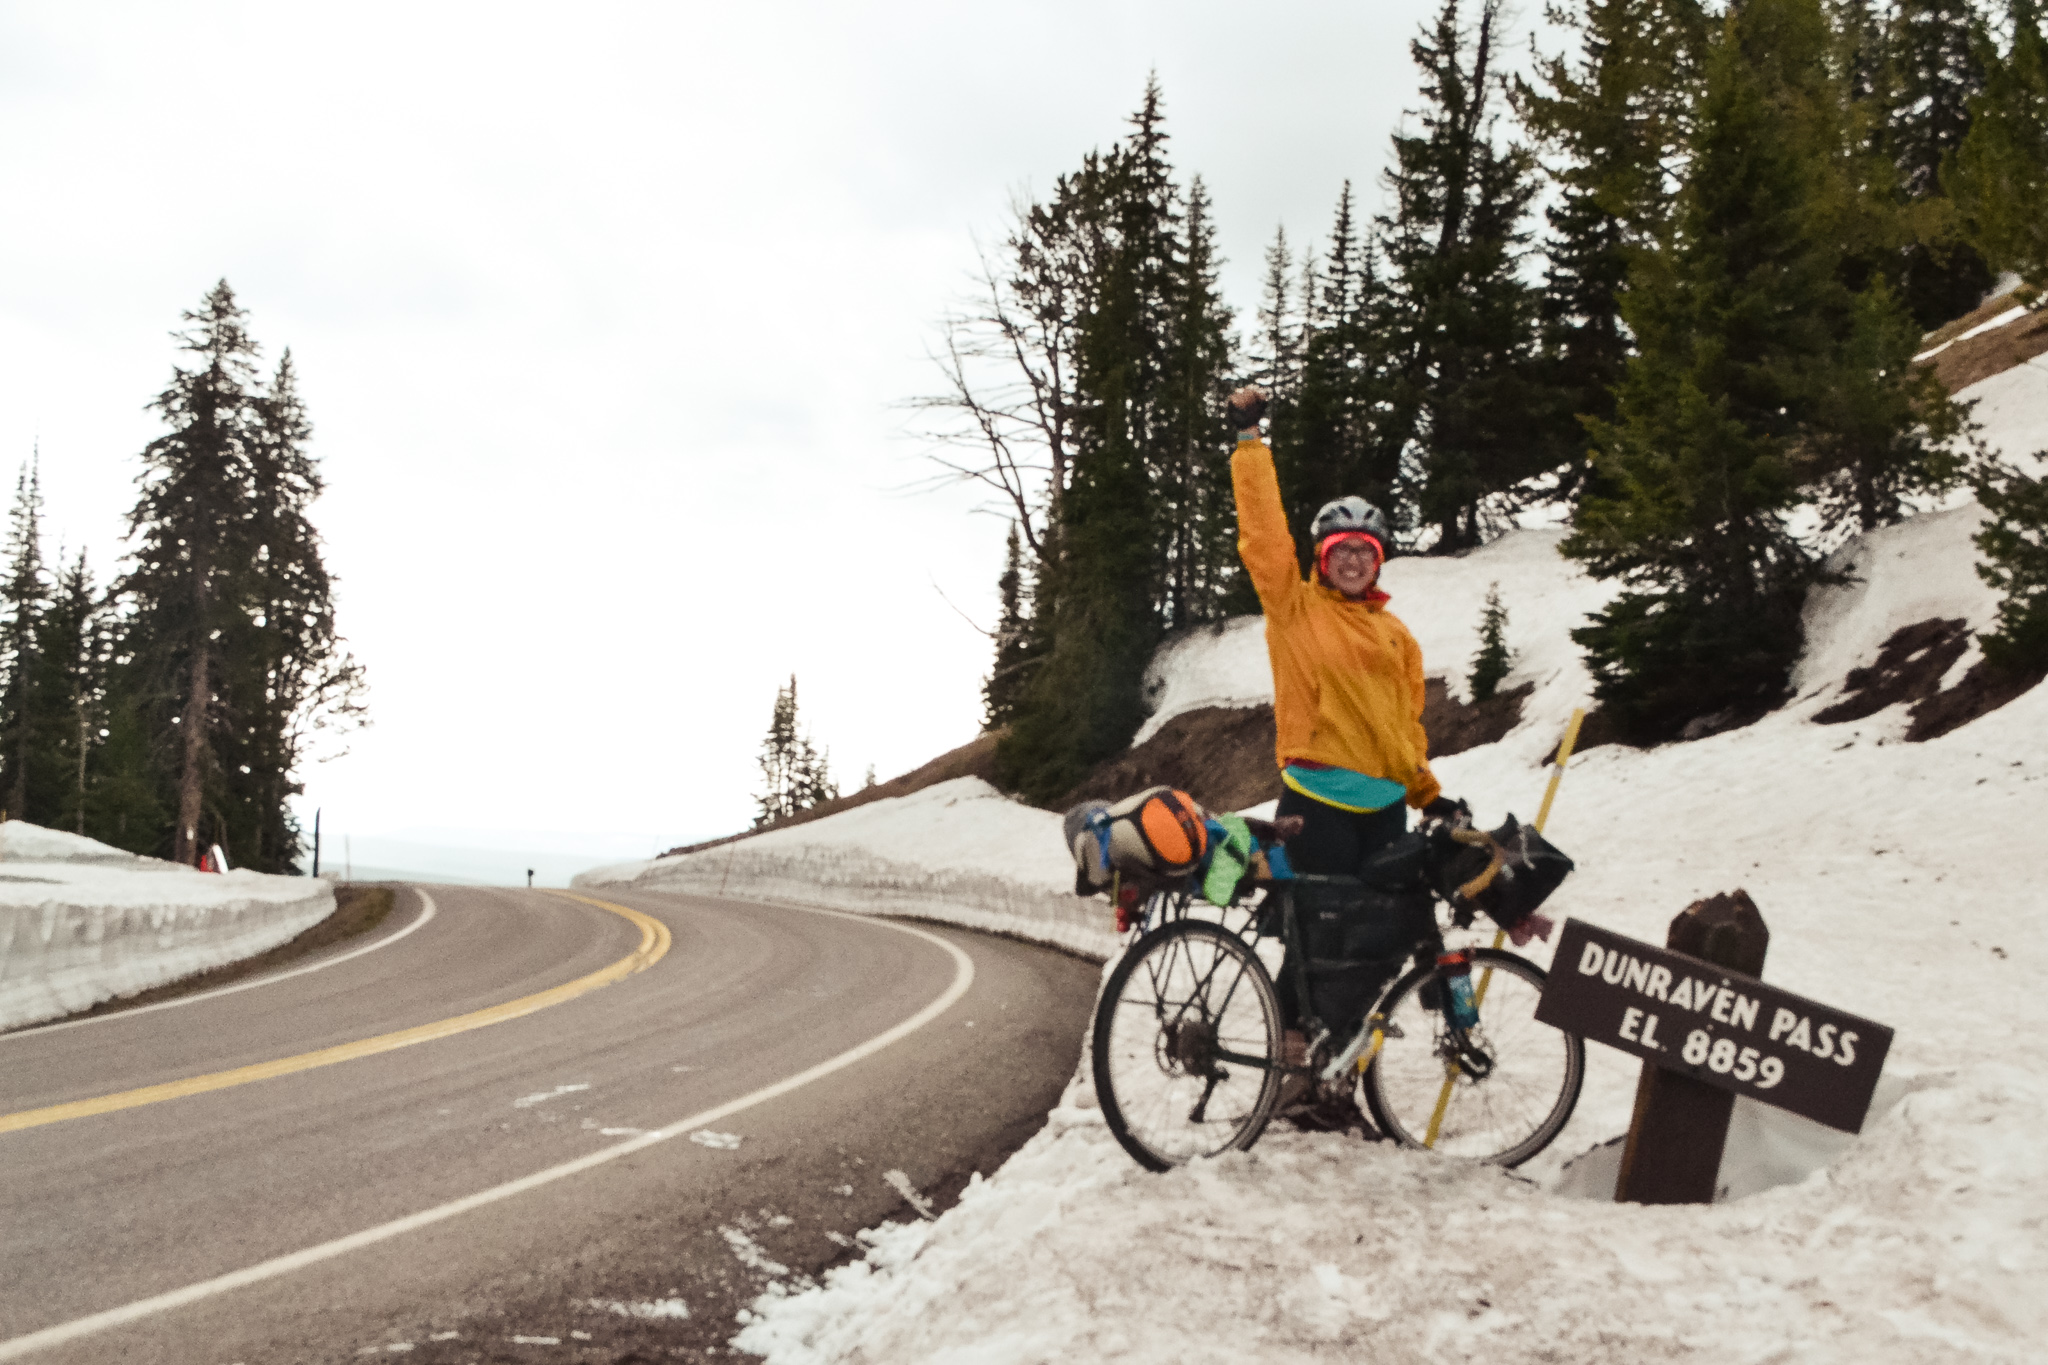
Shoutout to that lady, because we had just finished an 8,800+ foot descent down Dunraven Pass in the hail and pouring rain. That, and we hadn’t showered in almost 5 days, so it was a luxury.
Anyway, $20 isn’t a fortune, but it did cover our backcountry site the following night. When you think about it like that, it was worth the 5-minute conversation we had at the check-in desk.
Give yourself PLENTY of time for attractions while cycling in Yellowstone National Park
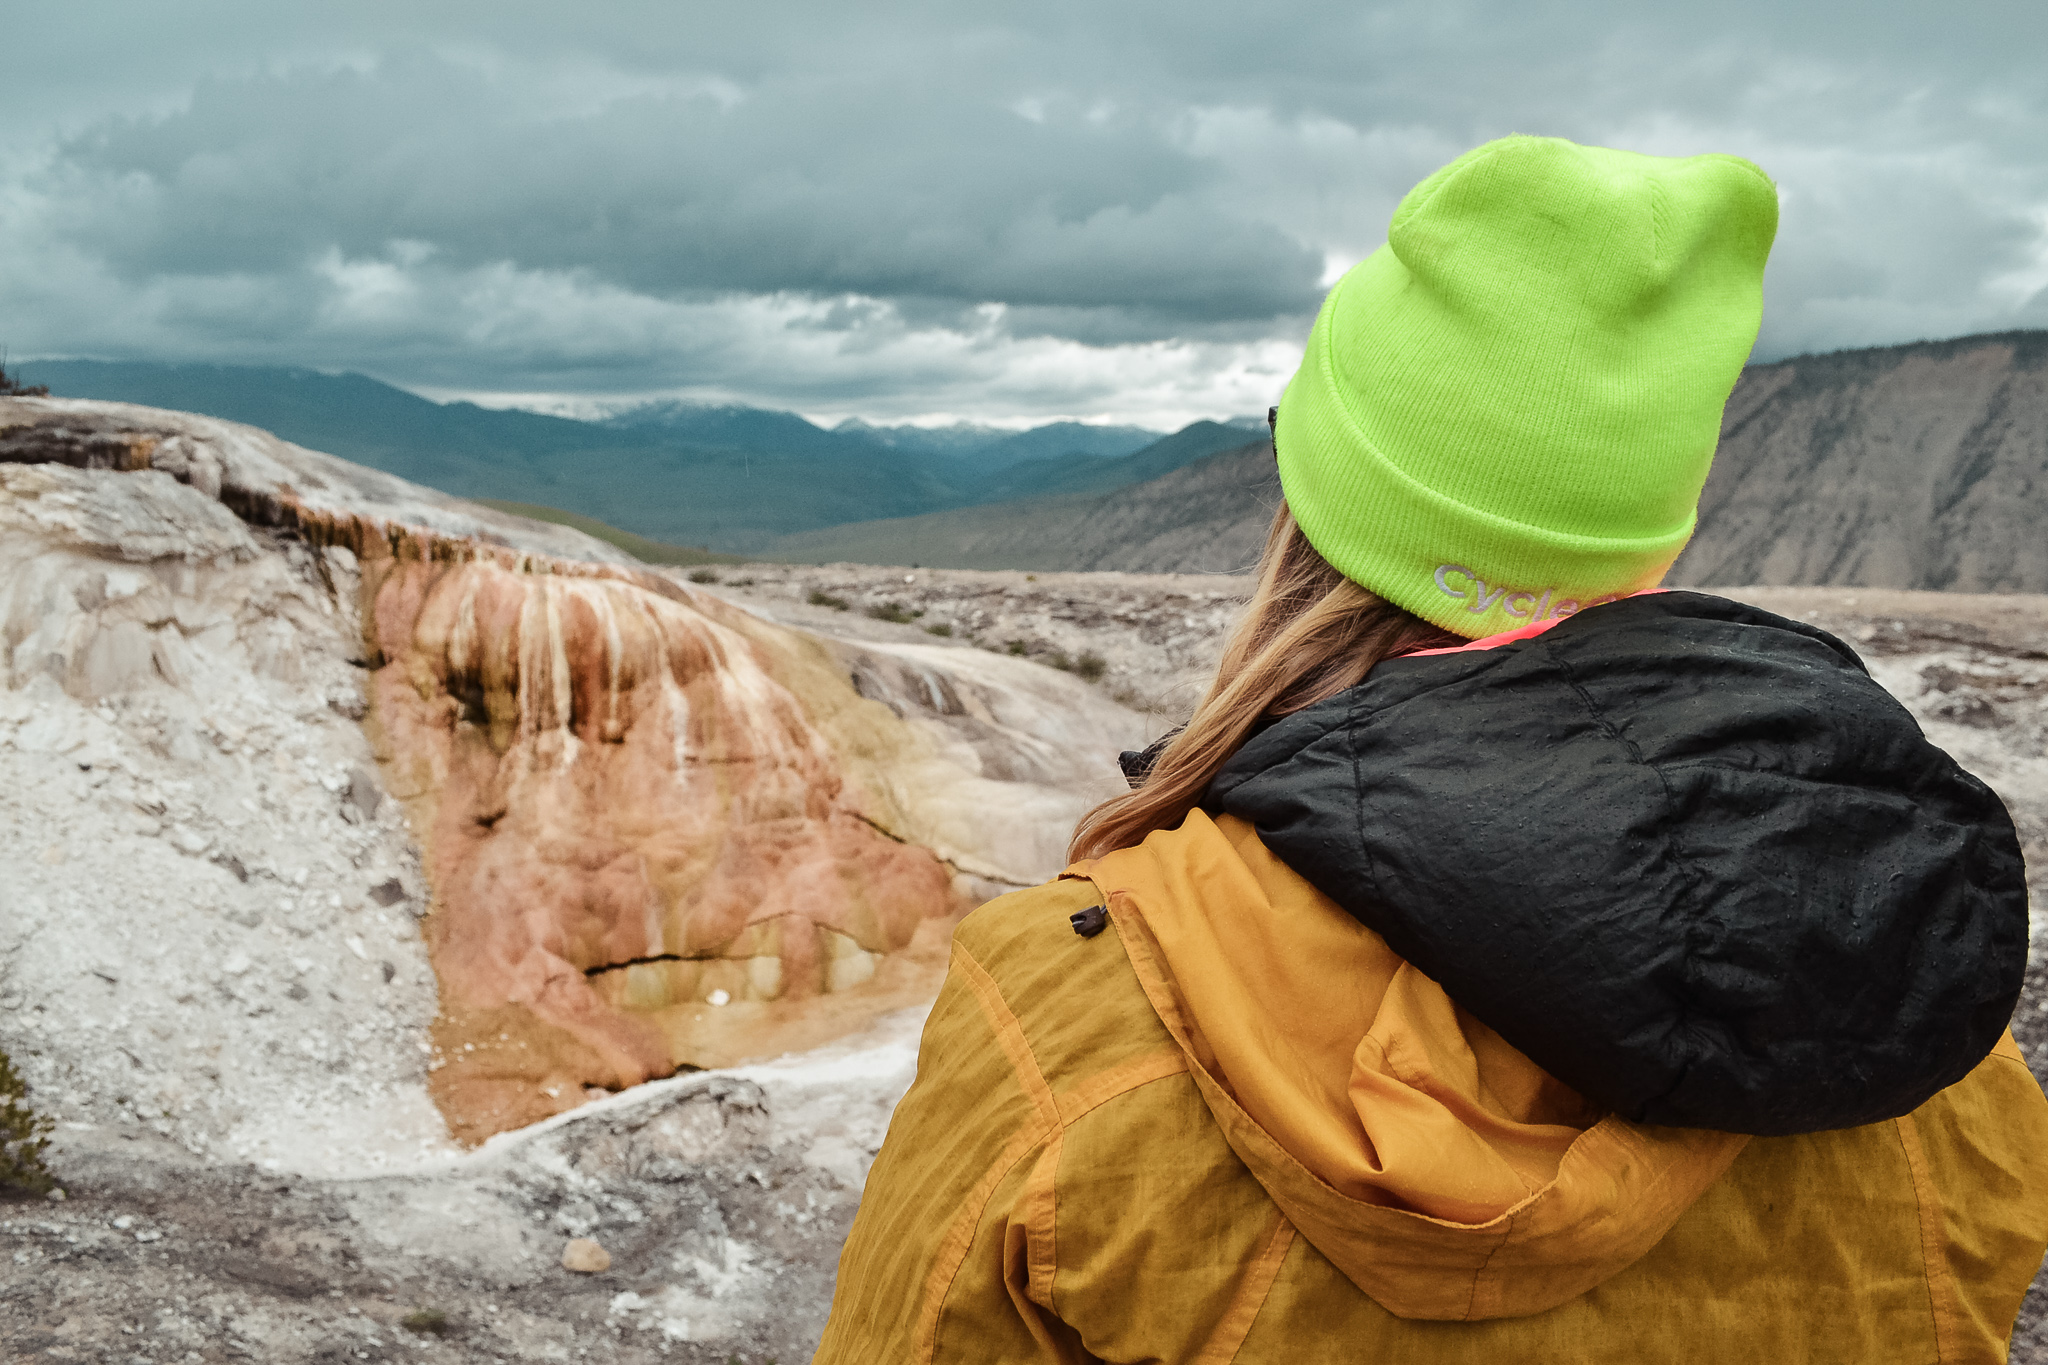
- Norris Hot Springs**
- Bozeman (we stayed with some fantastic Warm Showers hosts!)**
- Chico Hot Springs**
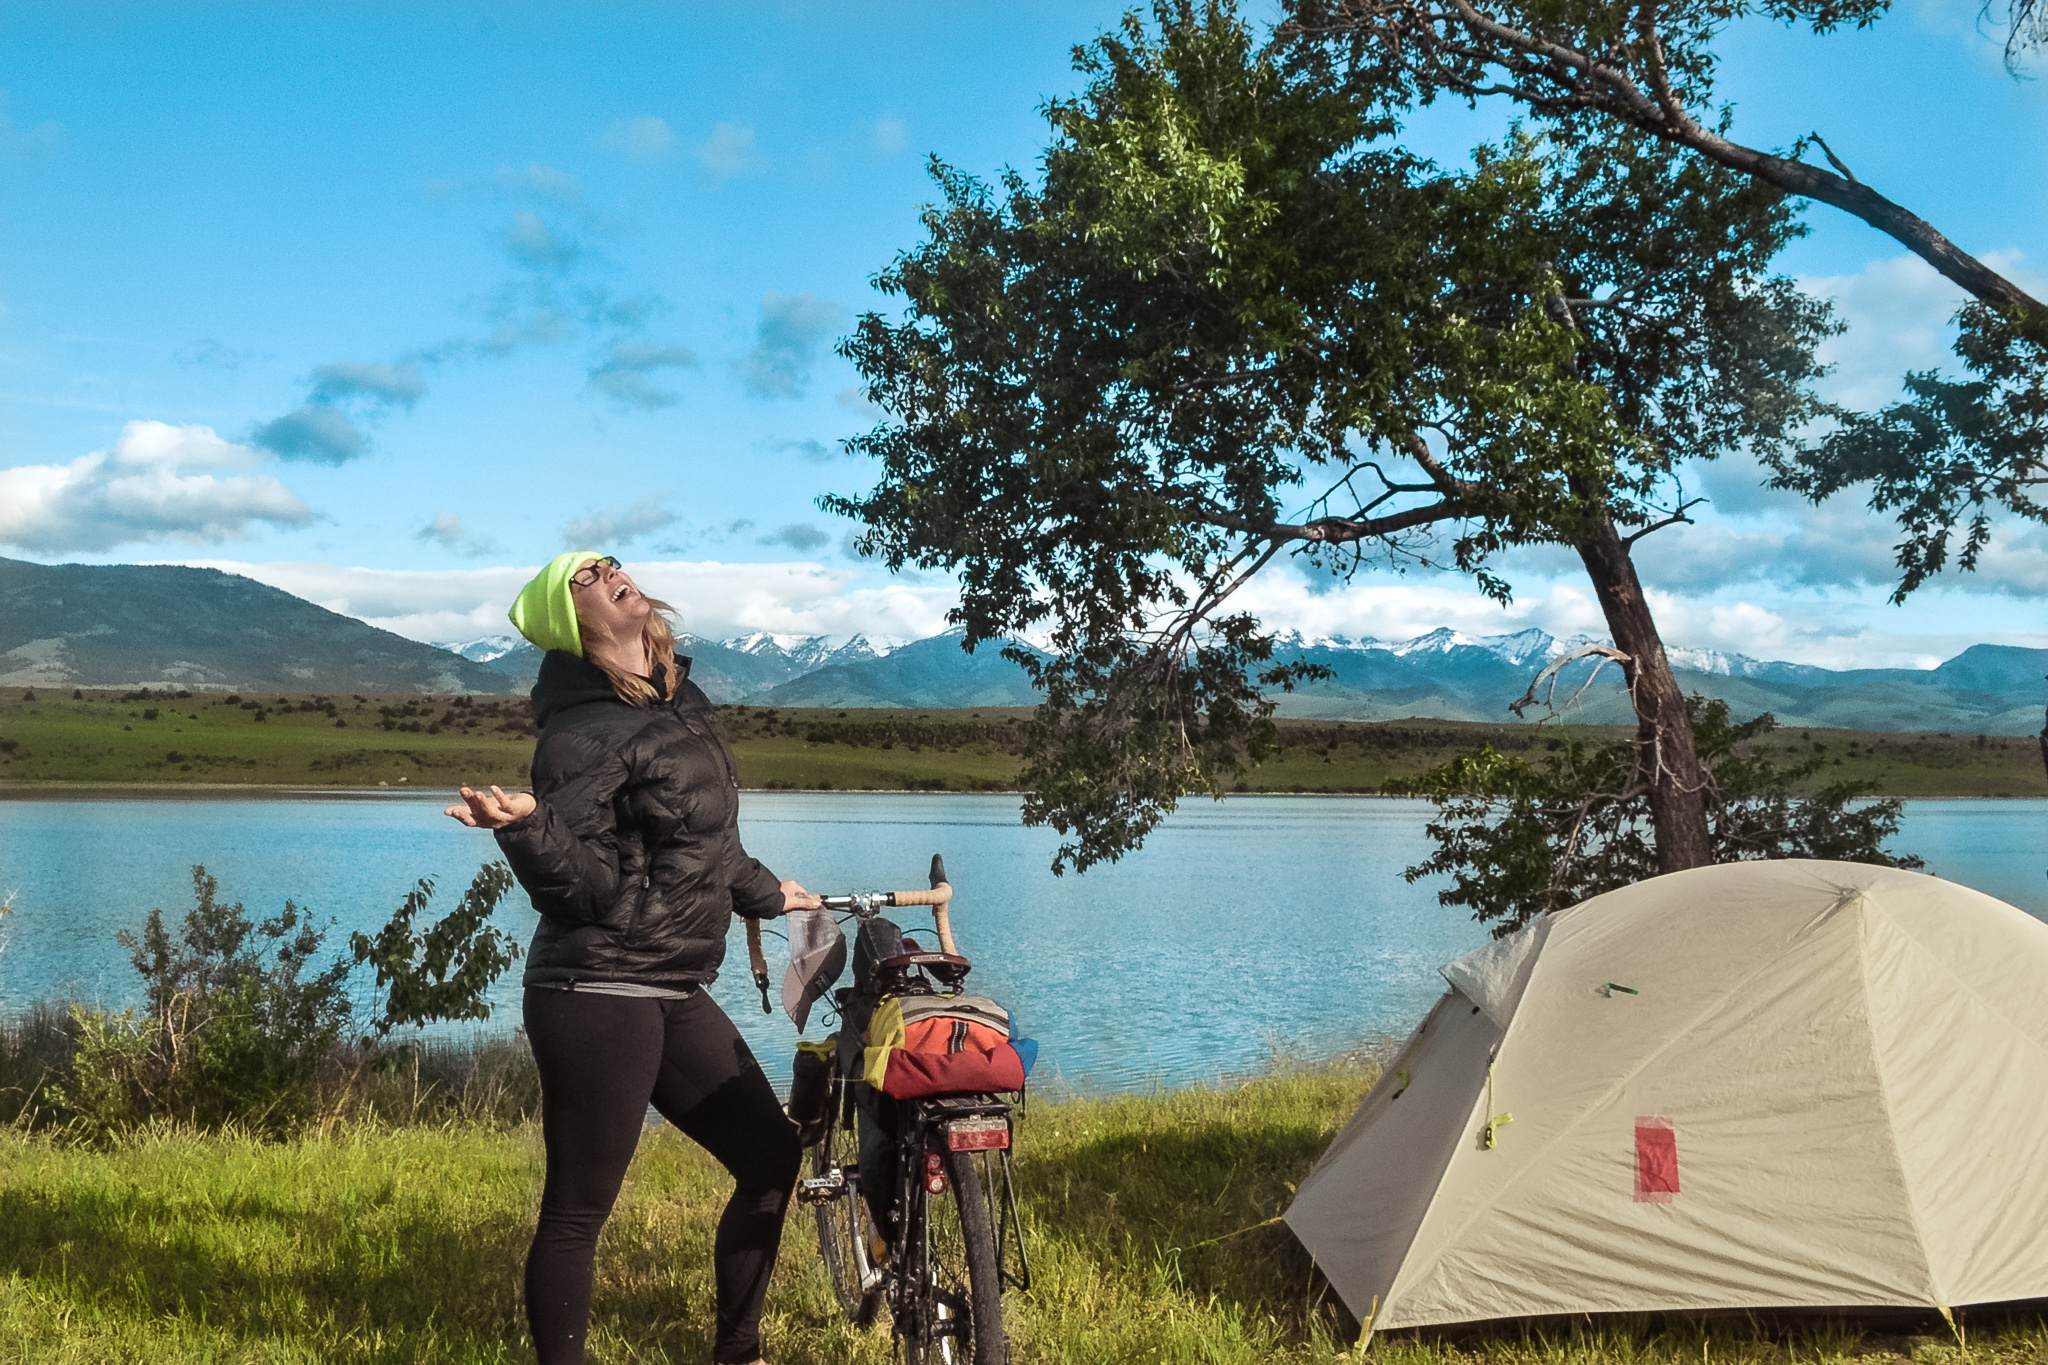
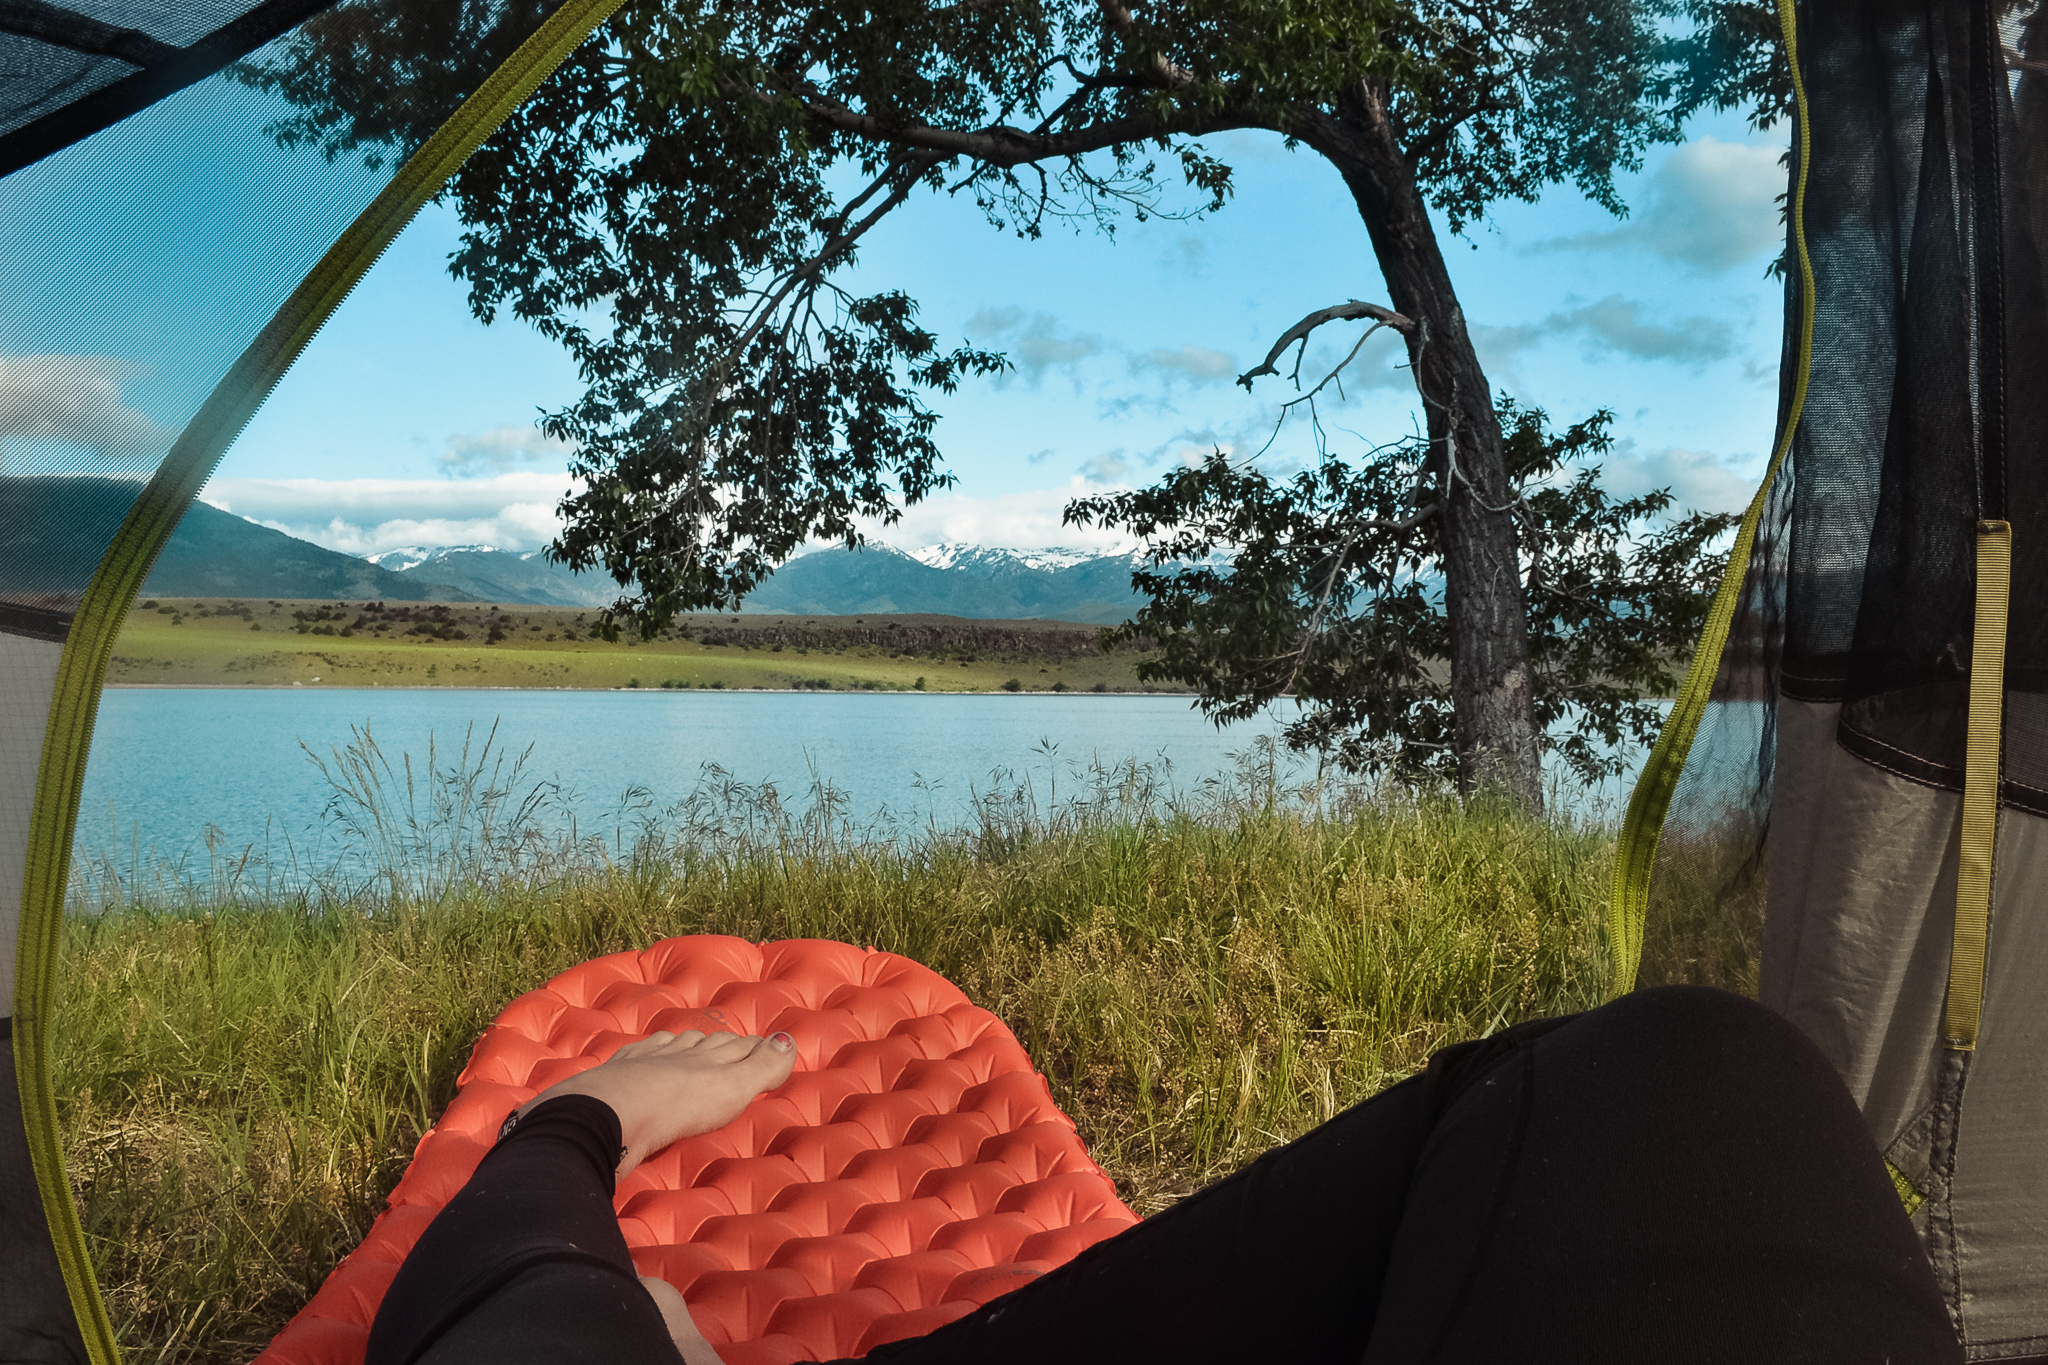
- Dailey Lake**
- The Grand Canyon of the Yellowstone**
- Artists’ Paintpots
- Lower Geyser Basin
- Grand Prismatic (it was too foggy for us to justify stopping)
- Old Faithful
- Jackson Lake in Grand Teton National Park**
- Teton Pass
Give yourself that rest day – but don’t plan it in advance
Hi there! I was curious what your route was. I am working on a bikepacking trip to see Yellowstone and the Tetons in the fall and I am trying to put together a fun route! thanks so much 🙂
Cheers
Andrew
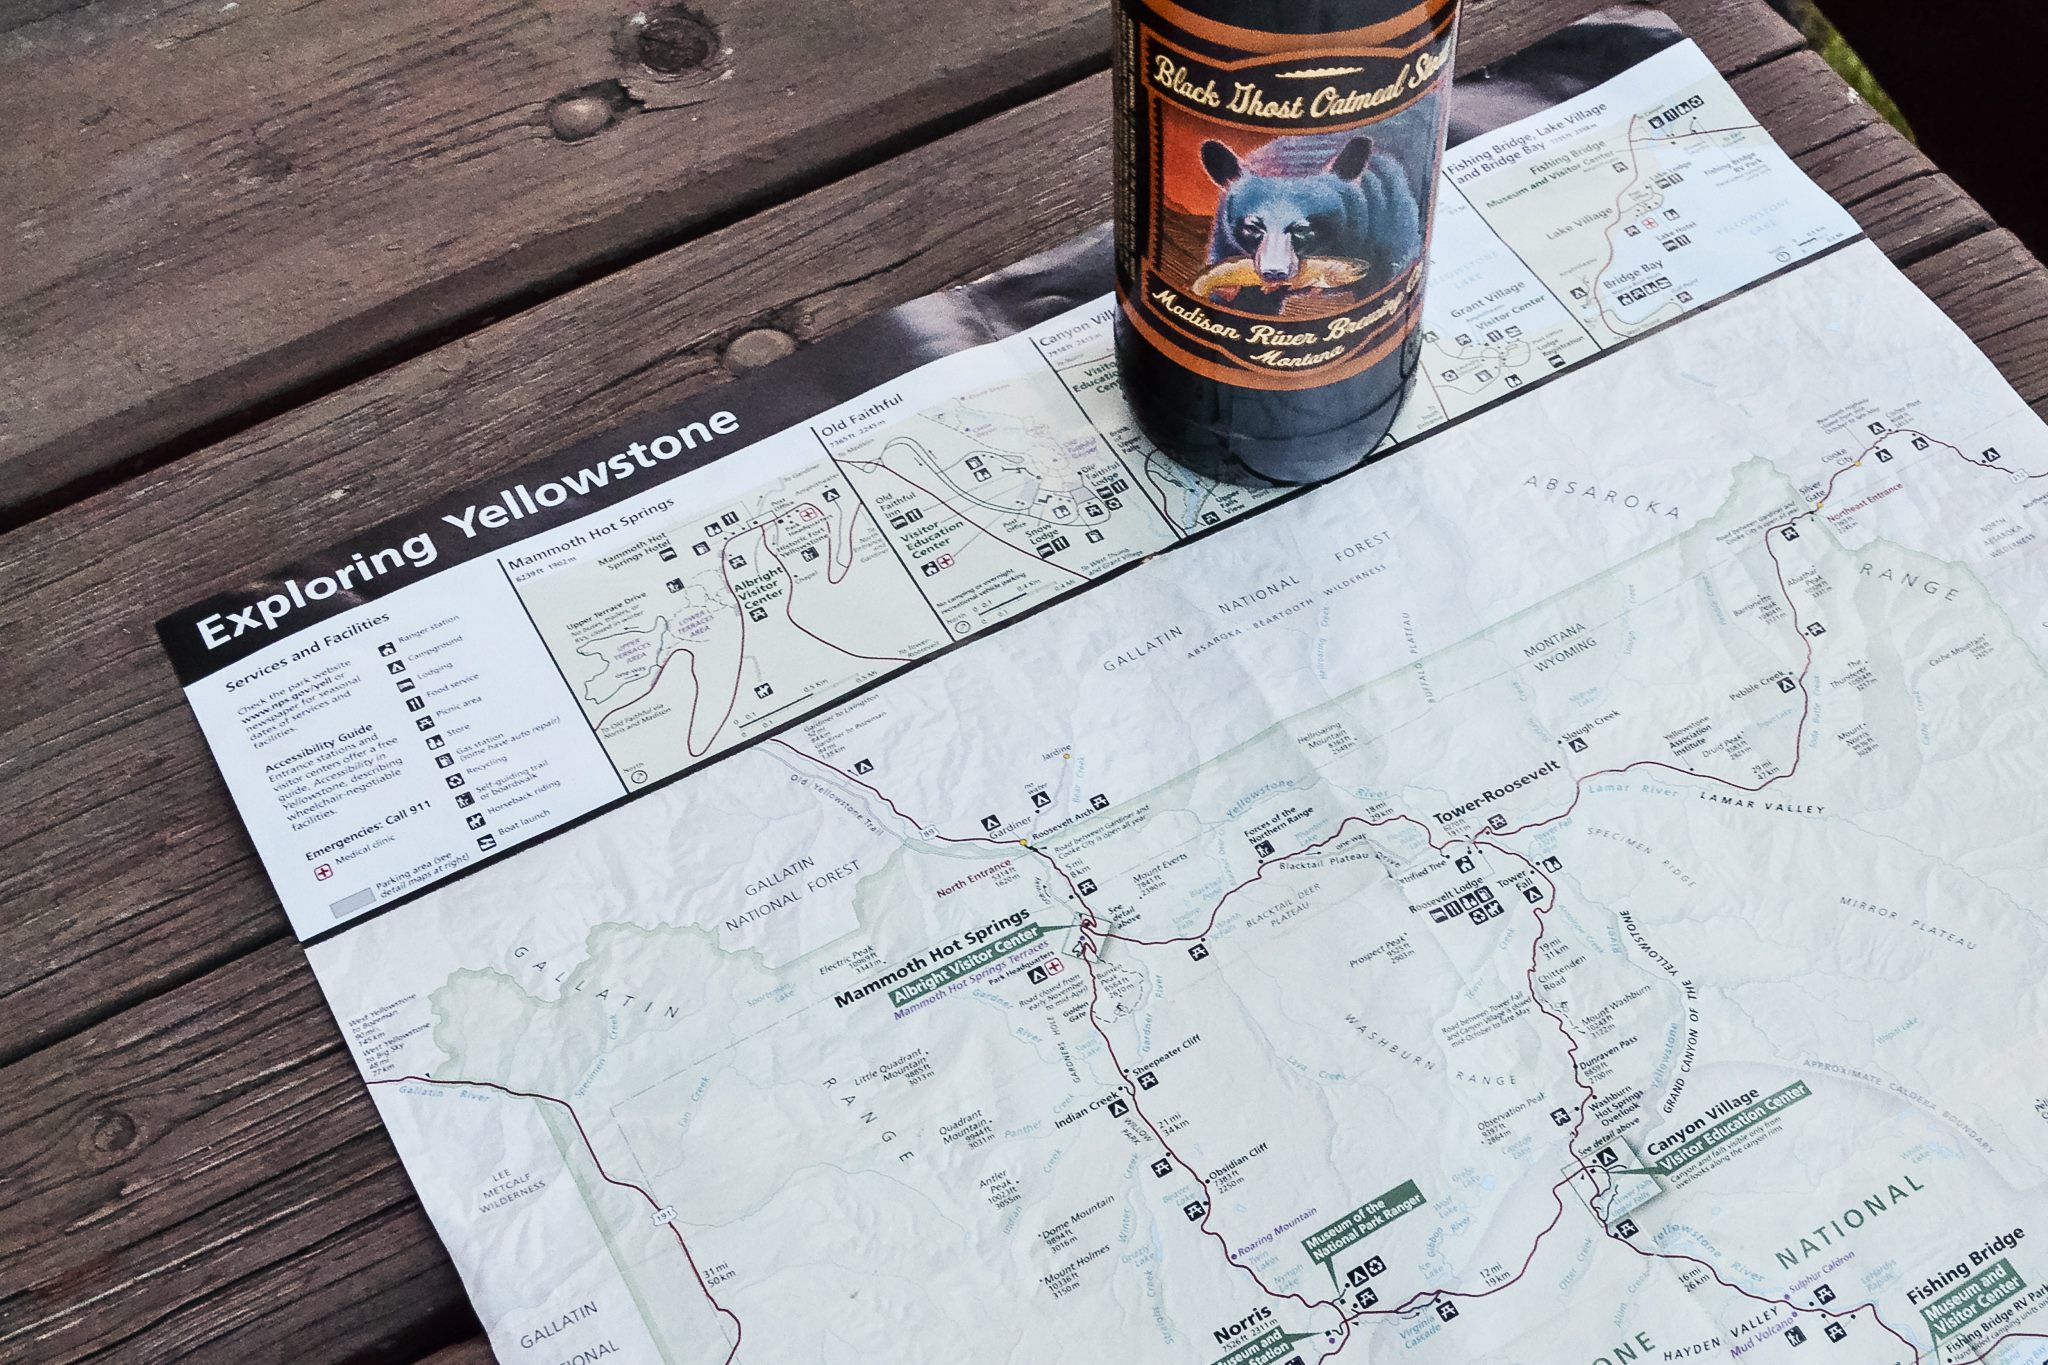
Hey Andrew! Let me dig it up….I know I have at least a loose copy of it. We followed the old train track trails around Teton Valley and a mix of The Great Divide and park roads once in Yellowstone and Teton National Park. I got your email and will send it your way 🙂