How To Pick Out the Right Backpack Size and Fit
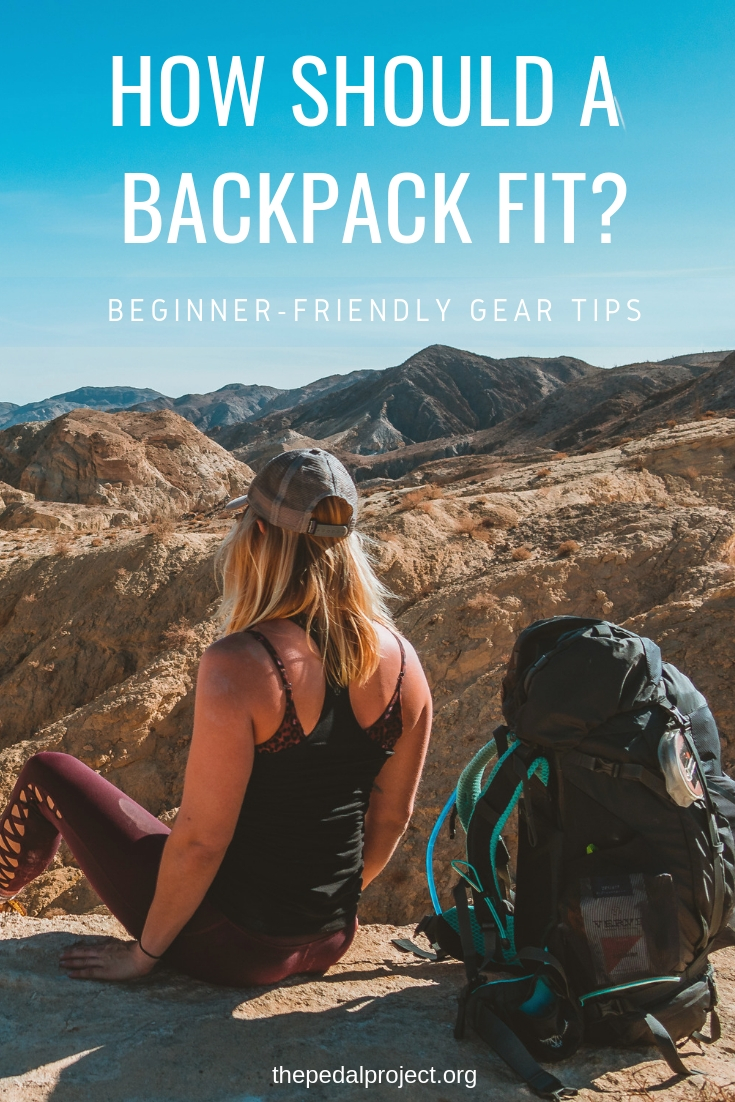
So, you’ve decided that you need a backpack and have a good idea of what volume you want. Fitting a backpacking pack is the next piece of the puzzle.
So, how should a backpack fit? The answer to that might feel like a Cinderella story. Backpack sizes are a bit of a Goldilocks tale.
But these aren’t glass slippers or a cup of soup.
And, fortunately, most backpack sizes come fully equipped with plenty of adjustable straps, plenty of hip cushions, and a plethora of other options. Plus, you won’t turn into a pumpkin at midnight when you take your backpack out for an overnight adventure.
Whether you are planning a six-week tour through Thailand or your first backpacking trip, you will have to make sure you are getting the right size for your body and frame.
An ill-fitting backpack can make or break the experience you have. Let’s face it, blisters and back pain aren’t a good look on anyone.
If you read my post about deciphering backpack volumes and capacity, then you may already be aware that there are a few differences between daypacks and backpacks. The main difference between the two packs generally comes down to the size of the pack. But fit comes into play here as well.
A daypack will usually be less than 35 liters and won’t include an adjustable frame. A backpacking pack will vary from 10 liters to 70+ liters and will include many options to customize the fit.
Plus, there will generally be more padding and a hardback frame, which will just make your backpack size fit and feel even better.
When you are thinking of the backpack size that you want, it is important to know what exactly you will be using it for. Some people use their packs as a commuter pack between work and home and others have backpacks strictly for outdoor adventure or travel use. You can get a lower priced pack for general day-to-day use, but it won’t necessarily mean that translates to outside.
Plus, backpacks that have the adventure in mind during the design process tend to have a larger number of features and will likely be able to cater to more of your needs and hobbies.
Why are backpack size and fit so important?
 **Pssst: All these awesome photos are from my friend, Adam. You can check out his Instagram here.
It is easy to overlook how your backpack is sitting on your back, shoulders, and hips when you are in the store or at home. There isn’t much weight and you aren’t wearing it for extended travel. Yet.
Once those factors change, though, an improper backpack size and fit will become a glaring problem.
Having an ill-fitting pack can lead to excessive pressure in your neck and shoulders. Plus, you’ll be thrown off-balance if the weight isn’t distributed evenly. You won’t be able to walk with correct posture and you may even have to compensate in the way you walk.
This isn’t a good thing when you are hopping over logs or trying to scramble up steep ravines. Imagine walking up a mountain and you are carrying 50 pounds on your back, but your pack is rubbing on your hip bones instead of sitting securely against them.
You’re sure to be sore after that!
Even if you are just using your pack as a travel backpack, a poor fit will throw your back out of whack in no time.
The major things I learned when carrying a backpack, I learned the hard (and painful) way. The wrong backpack size can actually alter your adventure travel experience. I have camping trips where the only thing I remember is just counting the steps until I could throw my pack in the dust and nurse my sore shoulders.
I don’t want you to have the same experience – especially if you are getting ready for your first backpacking trip.
My advice: Don’t be afraid to ask questions! Even if that question is: “how should a backpack fit?” If it is your first pack, it’s okay not to know. But the best way to learn is through other people and their experiences. Here’s what I’ve learned from my own backpacking woes…
Figuring out your size: How should a backpack fit?
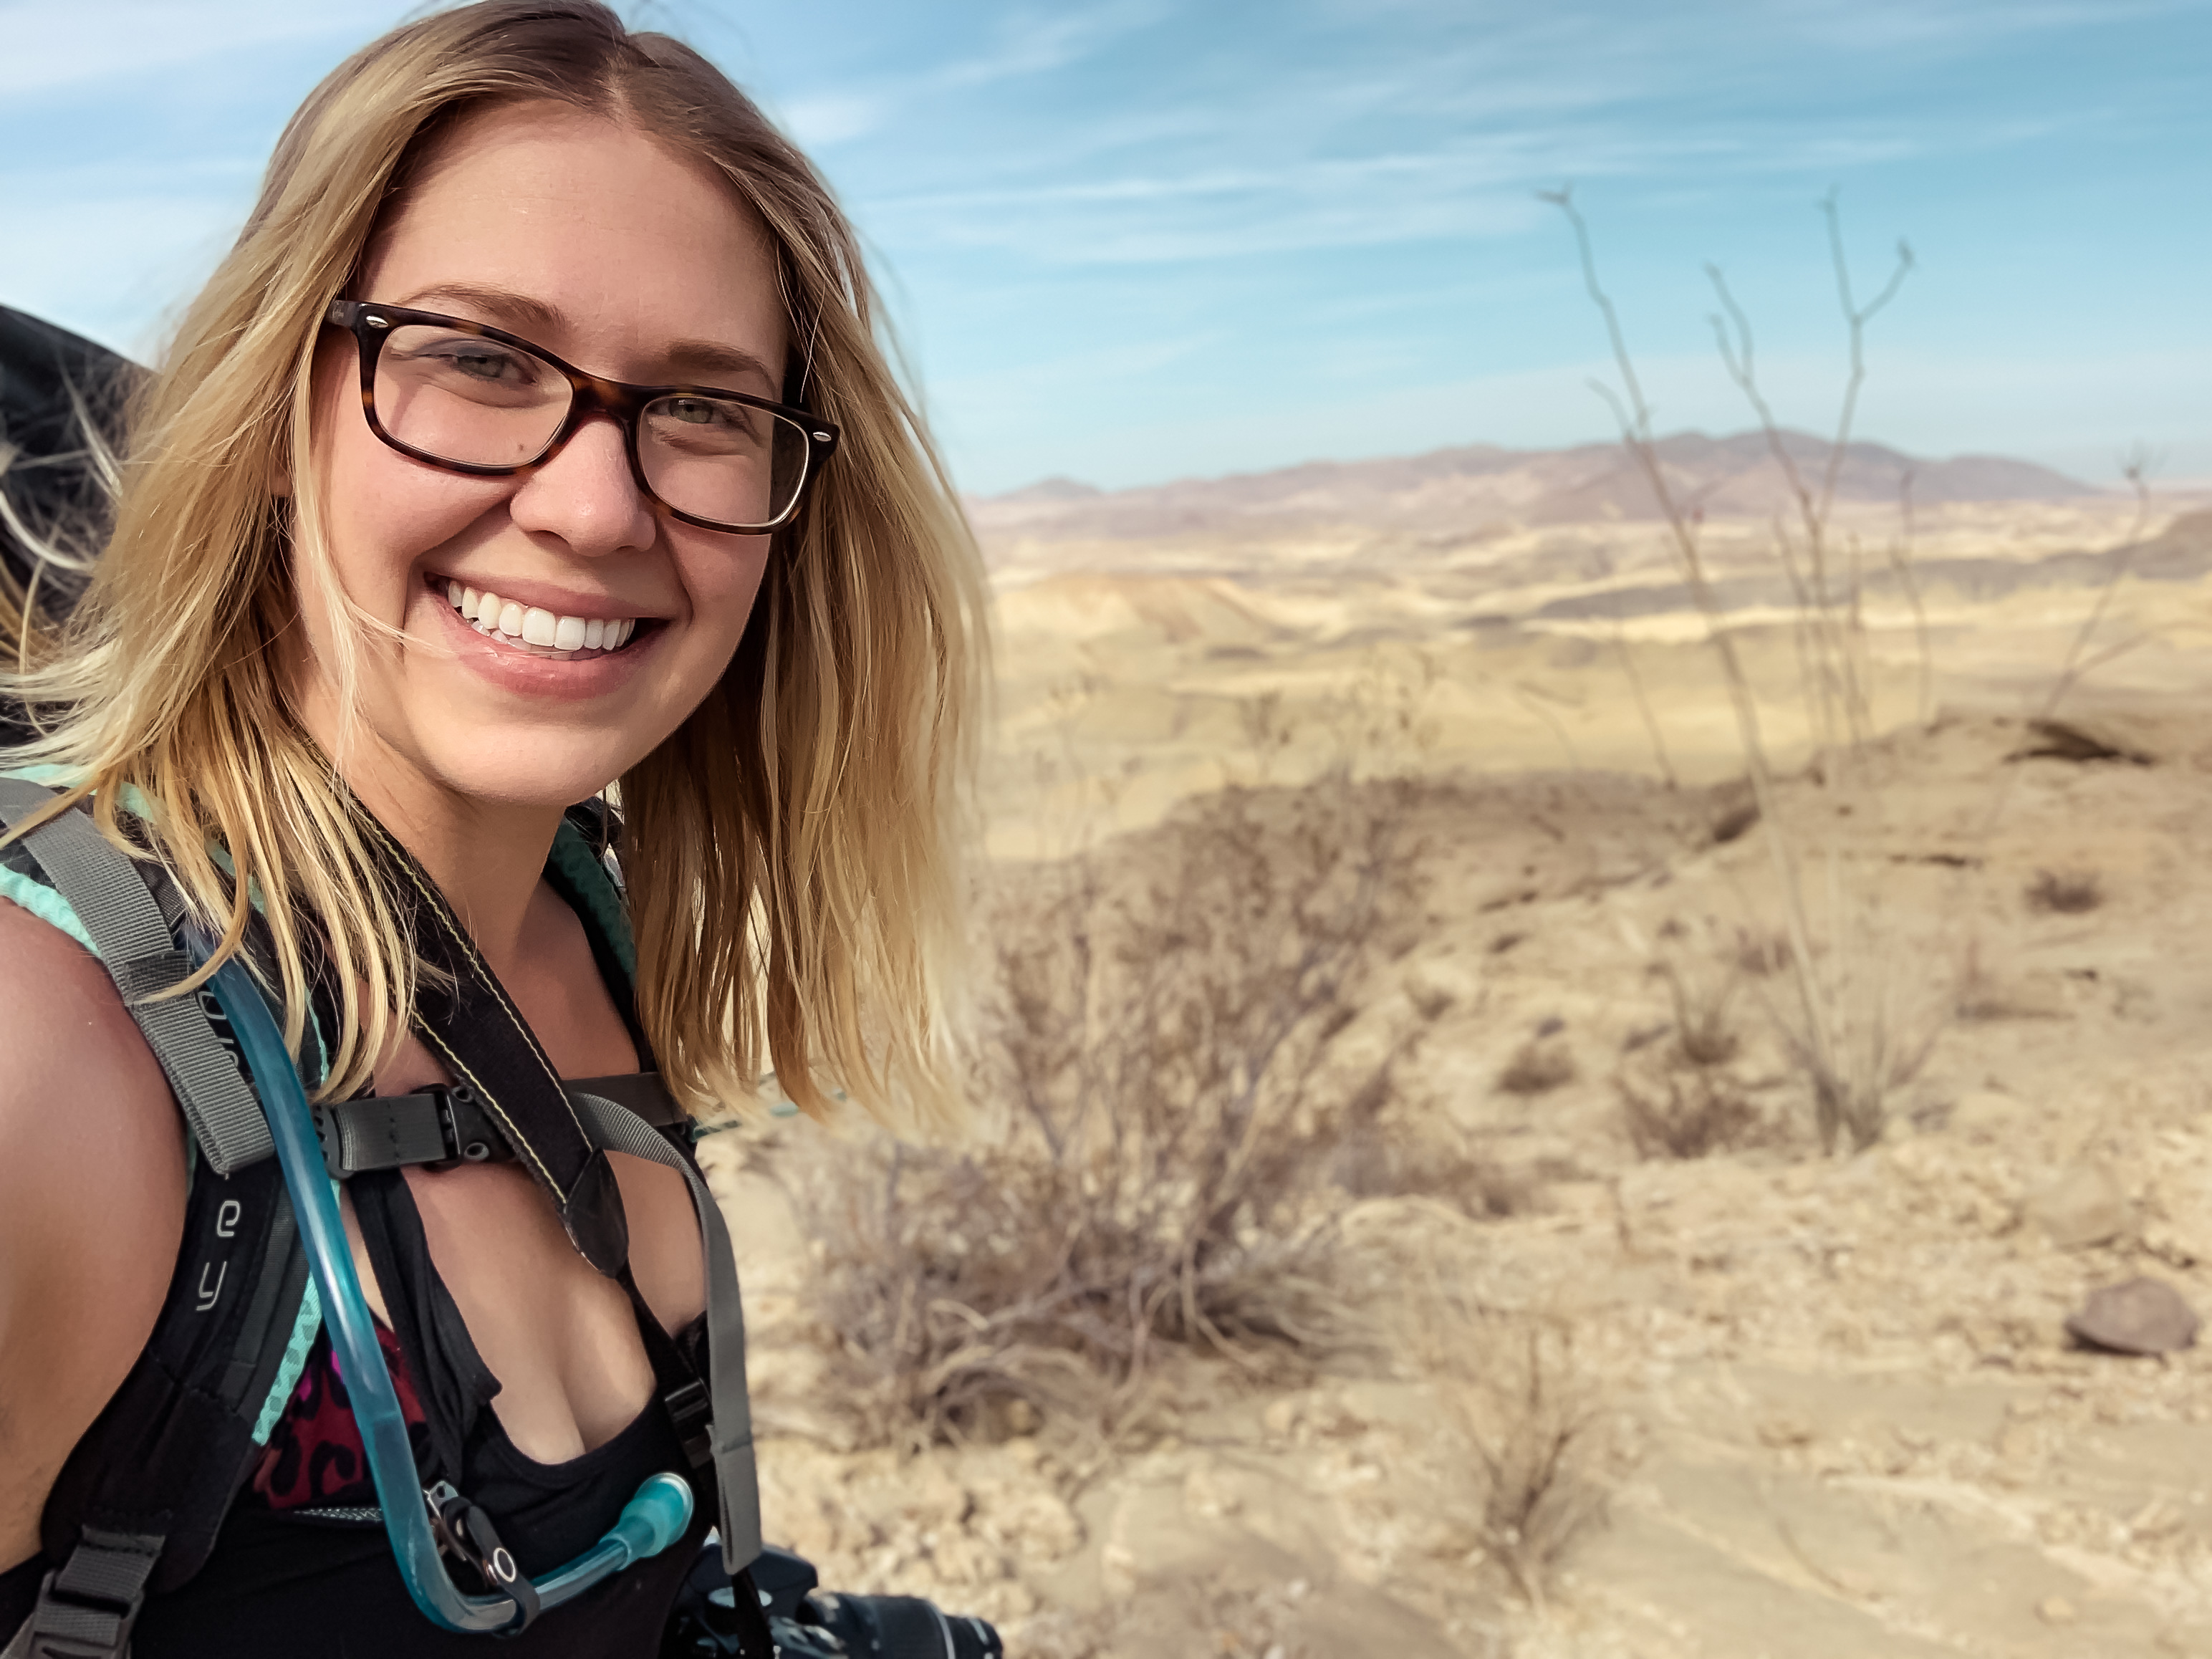
There are two main things you will need to think about when you are trying to fit a new backpack (or even a hand-me-down): the hip belt and suspension system.
1. The Suspension System and Frame
When the manufacturer refers to the suspension system, they are basically talking about the shoulder harness and portion of the pack that rests directly on your back. Often, there is a hard frame that makes up a part of the suspension system and can be adjusted up or down.
This adjustment can make or break how your shoulders and back feel after hiking even just for an hour on the trail.
The suspension system is the cornerstone of having the right backpack size.
Deceivingly, this element of backpack size and fit is not measured using your height.
It is determined by the measurement of your back – or more precisely your torso. You can do this measurement alone, but it can be quite difficult to be accurate. Plus, they do change a bit based on the manufacturer.
I recommend having a friend or a retail employee at your local outdoor store help you out.
If you want to DIY your backpack size, we’ll need a quick refresher from high school science and that skeleton that always sat in the corner.
To properly measure your torso, you will need to find your C7 vertebrate and your iliac crest. When you bend your head forward, you will be able to feel your C7 vertebrate at the base of your neck. It is usually the most prominent vertebrate and easy to feel with your hand. From your C7 vertebrate, you will measure to your iliac crest, the line running between the top of your two hip bones.
A tip I use for finding your iliac crest is to take a belt or tape measure and wrap it around the top of your hips. It will be the soft part of your middle that dips in. Tighten the belt or tape so that it uses your hips as a sort of ledge. Measure to bottom of the belt or tape.
When you have the right backpack size, that’s also how your waist belt should fit.
Once you have your measurement, backpack manufacturers will usually have charts to reference.
The average backpack sizes usually range between 16 and 23 inches. For most newer packs, they will have generalized sizing (small, medium, large). However, different measurements fit into those ranges. You will have to adjust it on the back of the pack itself to find the perfect fit for you.
Finding your backpack size is important, but you might notice that it’s not perfect. That’s why some of the newer frames come with additional adjustments. These let you lengthen or shorten the part of the frame that rests against your back.
2. The hip belt
The hip belt works with the suspension system to make sure you have the perfect backpack size and fit. This, in turn, affects how you carry the weight of the pack.
Most of the pack weight should rest on your hips (about 80% of the pack weight).
This seemed weird to me at first, but then it made sense when I was actually hiking with a heavy pack. Your body is easier to balance if the weight is primarily on your hips. This will also distribute the weight bearing to larger bones and the muscles in your legs, as opposed to your shoulders and lower back.
A hip belt will be secondary to the frame and suspension system.
Depending on the pack you use, the hip belt adjustability will vary. A daypack, for example, will likely have hip belts that tighten and loosen. A 70-liter backpack size or adventure pack, on the other hand, will have significantly more adjustability options available.
They also make many children and women-specific backpack sizes. These are great if you have a smaller frame, despite your gender.
The main difference between women’s and men’s backpacks is that the torso dimensions will generally be shorter and narrower. The hip belts and shoulder straps often tend to be specifically contoured to fit a women’s body better. Many extra small women’s packs will fit older children, too.
I’m tall (5’8”). So, I was initially looking at unisex backpacks but still found that the women’s models were just a better fit. I was also surprised that the best backpack size for me was a small Osprey!
I normally wear a medium, so that’s proof that it’s important to measure your back.
Other Important Backpack Sizing Features
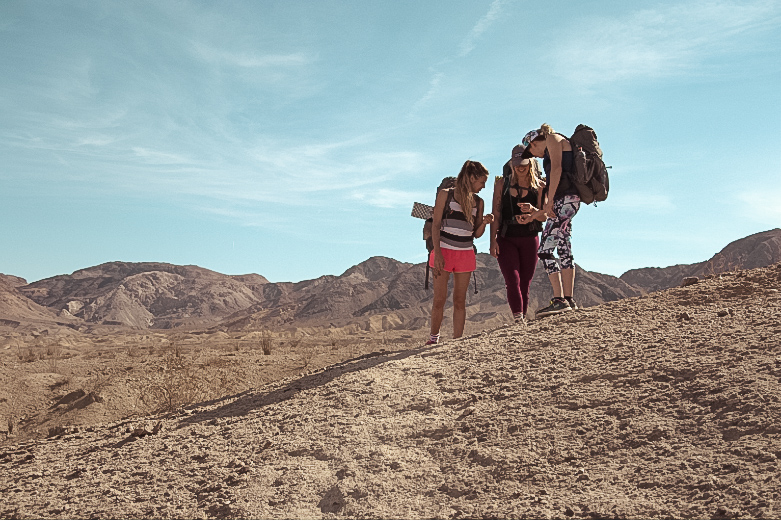
There are other aspects that you will want to consider when fitting your backpack. Two are the load lifter straps and the sternum strap.
The load lifter straps are stitched into the top of the shoulder straps. They then connect to the top of the pack’s frame. Their main purpose is to prevent the top of your pack from pulling back and away from your body when you are hiking.
You want to keep your backpack as close to your body as possible. This will help ensure that nothing swings around and will protect your lumbar from any extra strain while you hike. So, keep these straps snug.
I find it is easier to adjust these when my pack is loaded and on my back. Just reach to the area right next to your ear and pull the tab or flap.
The sternum strap is the strap connecting your shoulder straps going across your chest. These help you keep your balance and will boost stability when hiking. It helps to keep you in balance when your pack shifts on uneven terrain and should be tightened when hiking.
Some non-fit related features many adventure oriented backpacks include are hard frames (a part of the suspension system I mentioned) for added support, ventilation on the back to prevent overheating when hiking, side zippers for packing convenience, and easy-to-access water pockets or reservoirs.
Having your water reservoir separated from the main compartment of your pack really makes it easy to refill and unpack your water bladder when cooking.
As you can see, the right backpack size goes beyond capacity and how it fits your body. Will likely need to include consideration for the different compartments and your preferred style of packing.
Test It!
The best backpack size is the one that fits you. It sounds silly to say that, but it’s true.
When it comes to fitting a backpacking pack, there is no one-size-fits-all situation. A unisex medium from one brand may fit like that women’s small you tried on from another outdoor outfitter. That’s why it’s important to take your camping and adventure travel gear for as much of a test run as possible.
I personally did this in the store, and it was an eye-opener!
They gave me a five-pound bean bag and told me to walk around the store carrying the pack while I do the rest of my shopping. If my shoulders already started hurting during a 2-hour shopping excursion on level ground, I knew that they would feel the pain during one of my upcoming 4-day backpacking trips.
You can do this at home if you already own a backpack but are just working on nailing the right fit.
Training for a long trip? Try taking your pack out for a few shorter day hikes with some weight in it. Jump across a stream, practice sitting down and getting up, run around a bit. You’ll quickly see how the fit is working for you.
This will also give you a good opportunity to practice packing methods and to see how the weight is distributed in your pack while you hike.
If you are still researching backpack sizes and aren’t sure what capacity you need, read my essential guide to backpack sizes and volumes. You’ll be ready to buy your backpack with confidence!


Excellent article. Impressive methods you have shared. I think your audience is getting very helpful with your article. Your article is a perfect one for those who are interested in outdoor traveling. I have read the full article the way you have described (The Suspension System and Frame) was outstanding. I liked it so much and I think your audience also impressed with it.
keep writing and better luck for the next one😊😊
Thank you!